Setting up your Google Service Account
To use Google Analytics (GA4) for PageBuilder Editor’s integrated contextual analytics, you must create a service account associated with your Google Analytics account and provide that information when configuring your Google Analytics integration within PageBuilder Editor.
This document walks you through how to create an analytics property and retrieve your property ID, how to create a Google service account, and how to obtain your Google service account’s JSON key file.
Note
This document contains instructions for a non-Arc XP tool, so the steps may not be accurate. For the most up-to-date information, always refer to the tool's official documentation.
Setting up an analytics property and retrieving your Property ID
You must set up a property in your Google Analytics account to retrieve a Property ID.
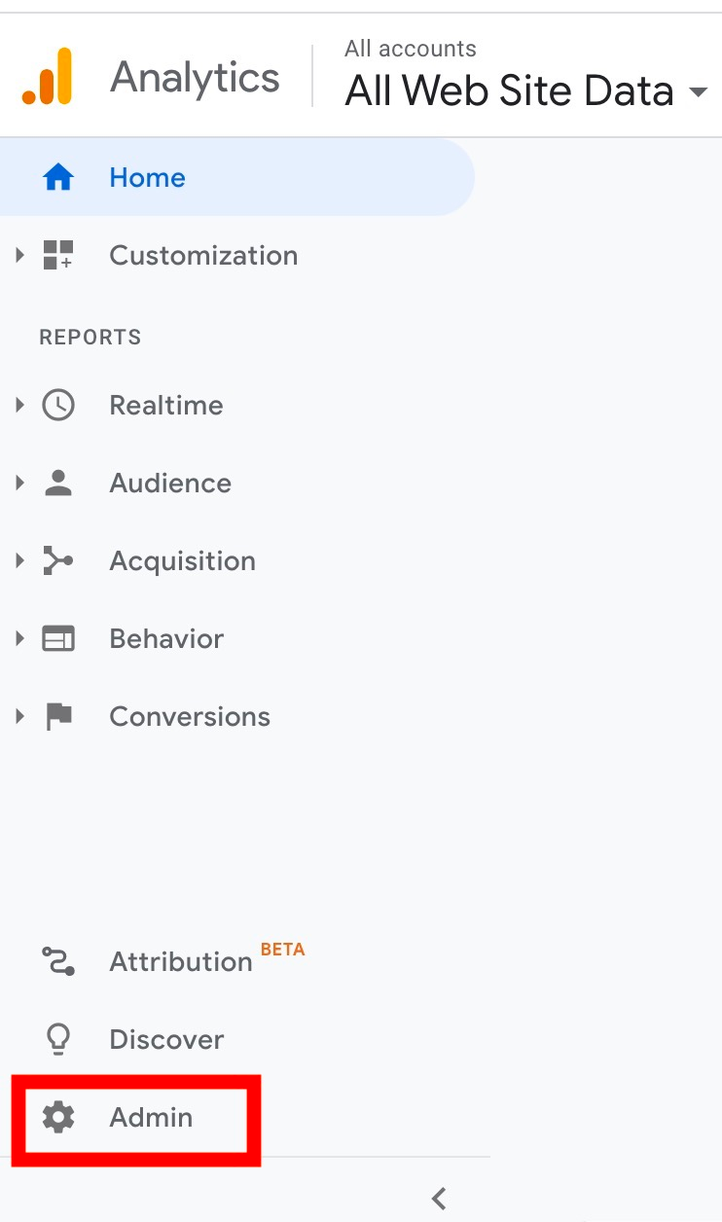
In Google Analytics, click Admin. The Admin page opens.
Click Create > Property.
Complete the required fields to provide information about your organization so that Google can tailor your experience.
In stage 4, click Web from the Choose a platform section.
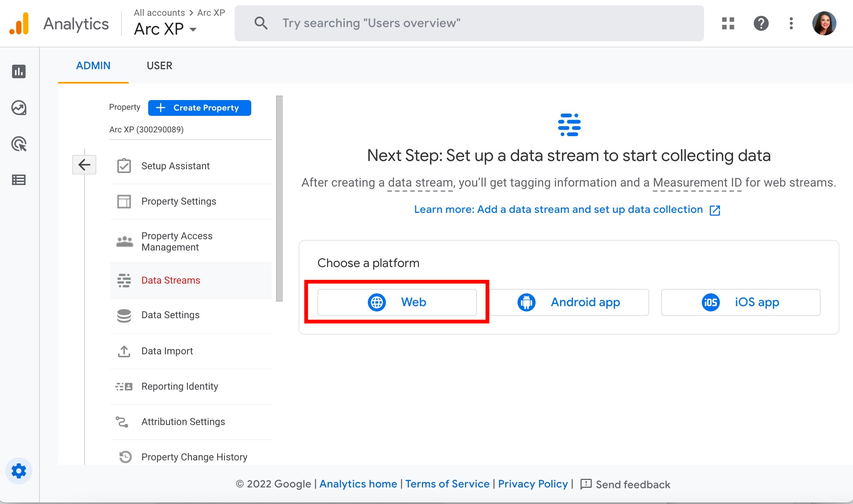
Enter your website information and site name.
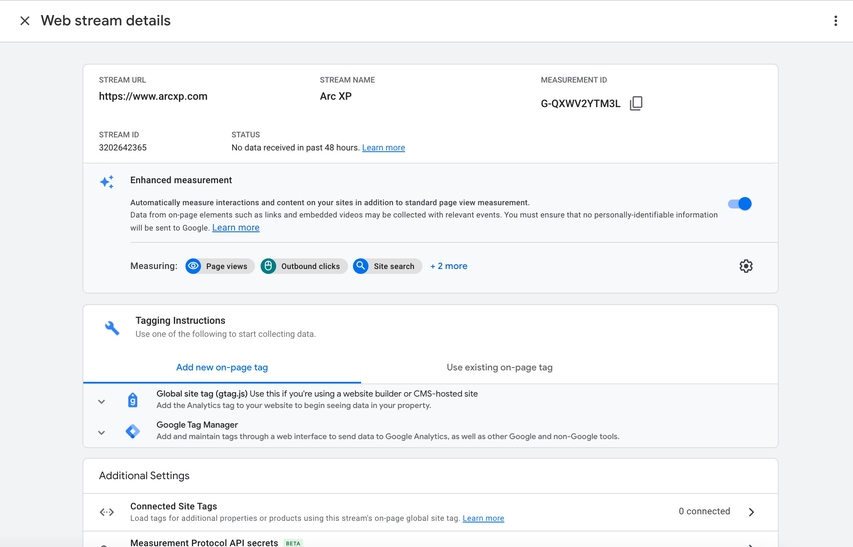
Click Create & continue. The Web stream details page opens, which lists information like your site's Measurement ID, Stream ID, Google Tag Script, and Google Tag Manager. You do not need this information to set up your Google Analytics integration in Global settings, but you do need your Global Site Tag for website tracking.
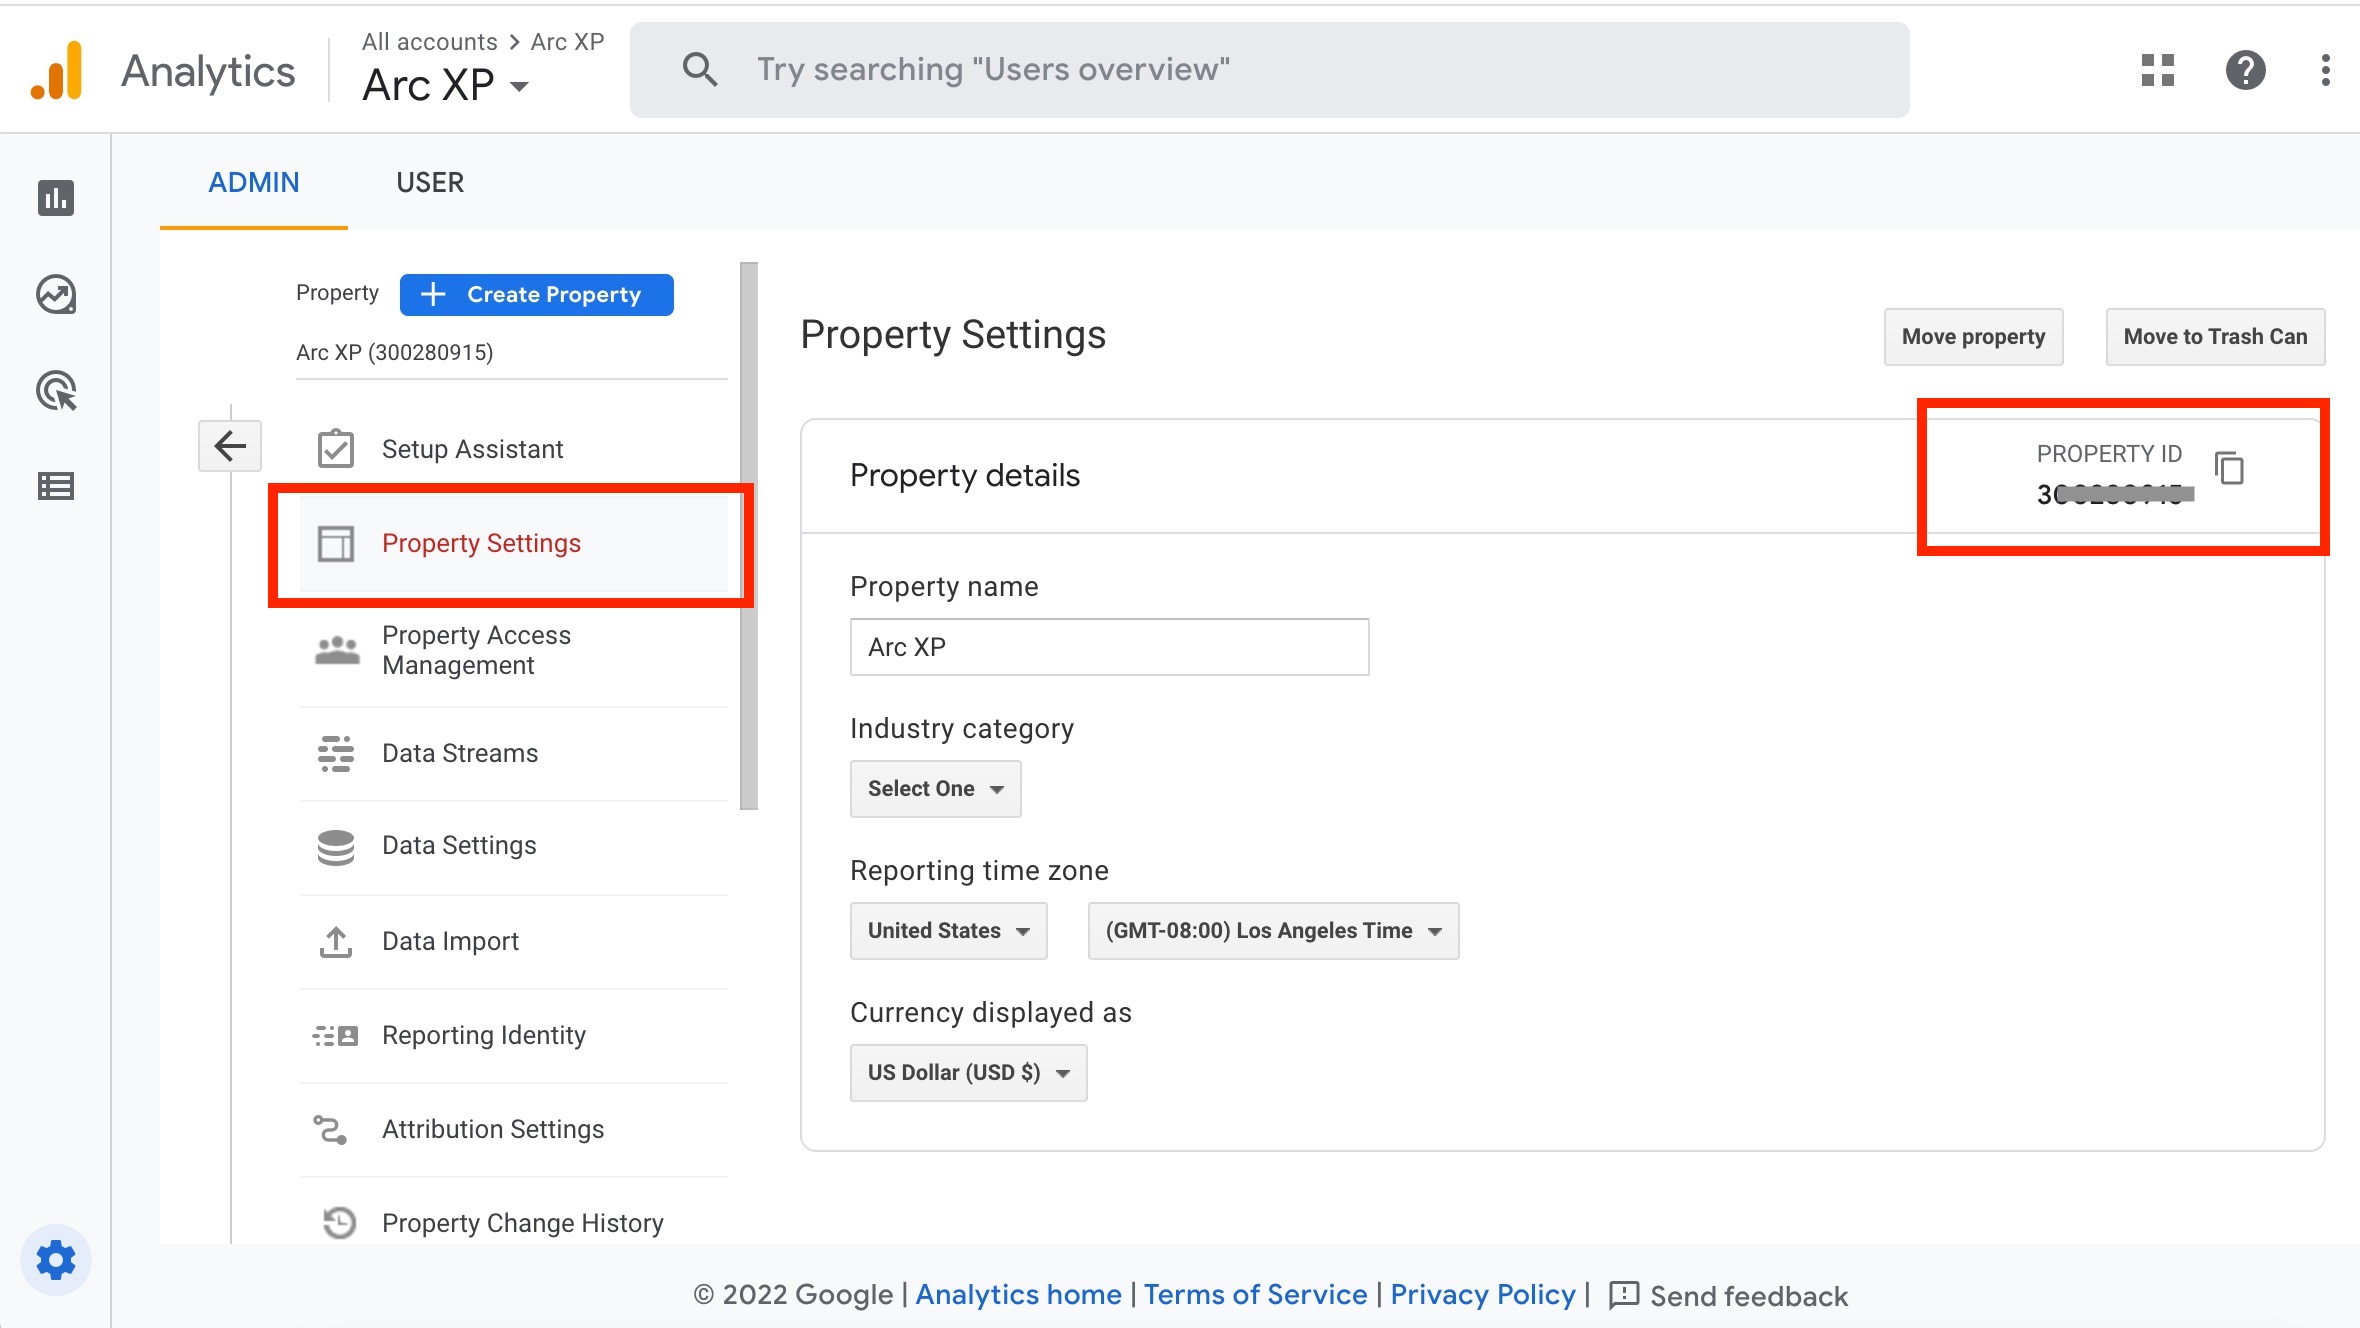
Close the Web stream details page and navigate to the Property Setting landing page. This page displays your Property ID, which you need to configure Google Analytics in Global Settings.
Creating a Google Cloud Platform project
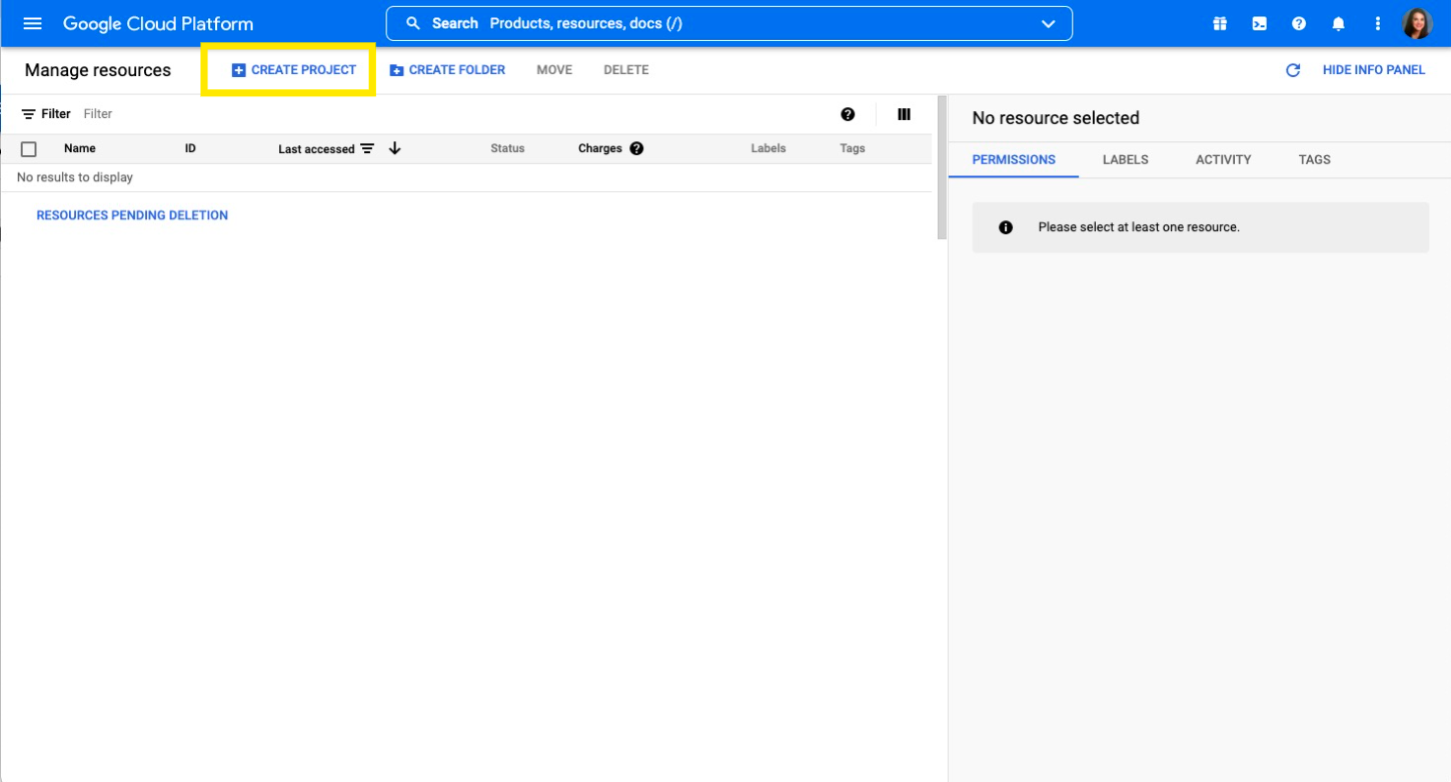
Navigate to the Google Cloud Platform landing page.
Click CREATE PROJECT. A new project page opens.
Complete the required fields, such a project name and selecting the parent organization or folder.

Click Create.
Enabling your project’s API
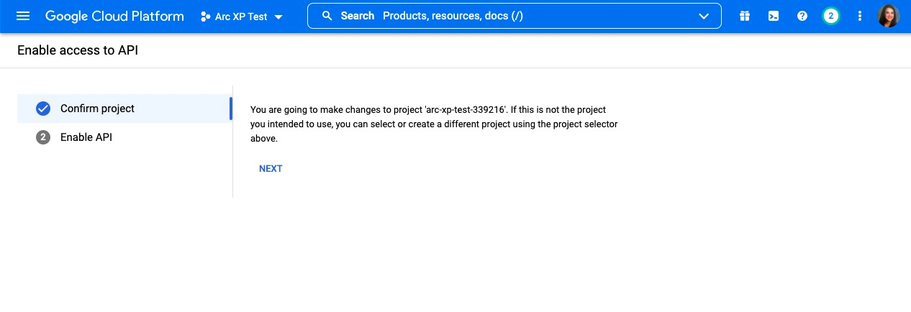
After you create your Google Cloud Platform project, you must enable your project’s API. See Google's documentation.
 |
Creating a service account for your project
In the Google Cloud Platform page for your project, open the left navigation menu.
Click IAM & Admin > Service Accounts. The Service Accounts page for your project opens.
Click CREATE SERVICE ACCOUNT.
Complete the necessary fields for your service account.

Click Create and Continue.
Here, you can also grant this service account access to the Arc XP project. For this service account, we recommend granting it an Owner or Editor role. After you click Done, the system returns you to the Service accounts page for your project and you should see your newly created service account.
Creating a JSON key
Now, you create a JSON key for your service account. You must upload this JSON key to Arc XP to complete the Google Analytics integration.
From your Google Cloud Platform page, under Actions for your email, click
 > Manage keys.
Select JSON.
Click CREATE.
The system downloads a JSON file to your local machine, which you can then upload in Global Settings in Arc XP.
Adding your Google Service Account to your Google Analytics property
The final step is to add your Google Service Account email to the Google Analytics property.
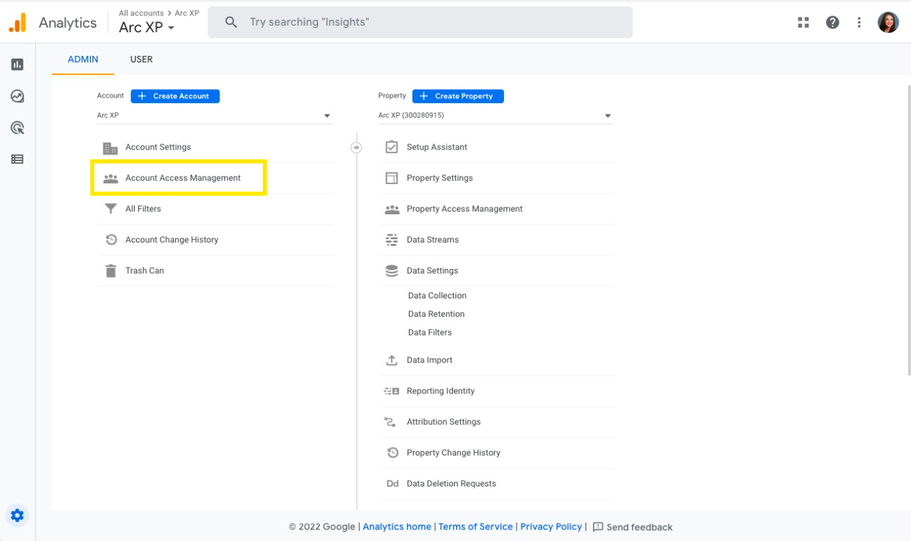
From your Google Analytics Admin page, click Admin > Account > Account Access Management.
Click + > Add users. The Add users window opens.
Enter your newly created Google Service Account's email address and select a role for your account. We recommend selecting Administrator or Editor.
Click Add.