How to upload images
There are two ways to get photos into your photo library in Photo Center - from inside the article you are creating in Composer or within Photo Center itself. Images uploaded from either application will all end up in your central Photo Center image library.
Unlike articles, videos, or galleries, images are not a top-level content type in Arc XP, meaning they are almost always going to be associated with or embedded in one of the top-level types listed above. This means there is no "circulation" option for images and therefore no website association. To control access/visibility of images based on the website, see this documentation about distributors/restrictions.
Uploading into Photo Center
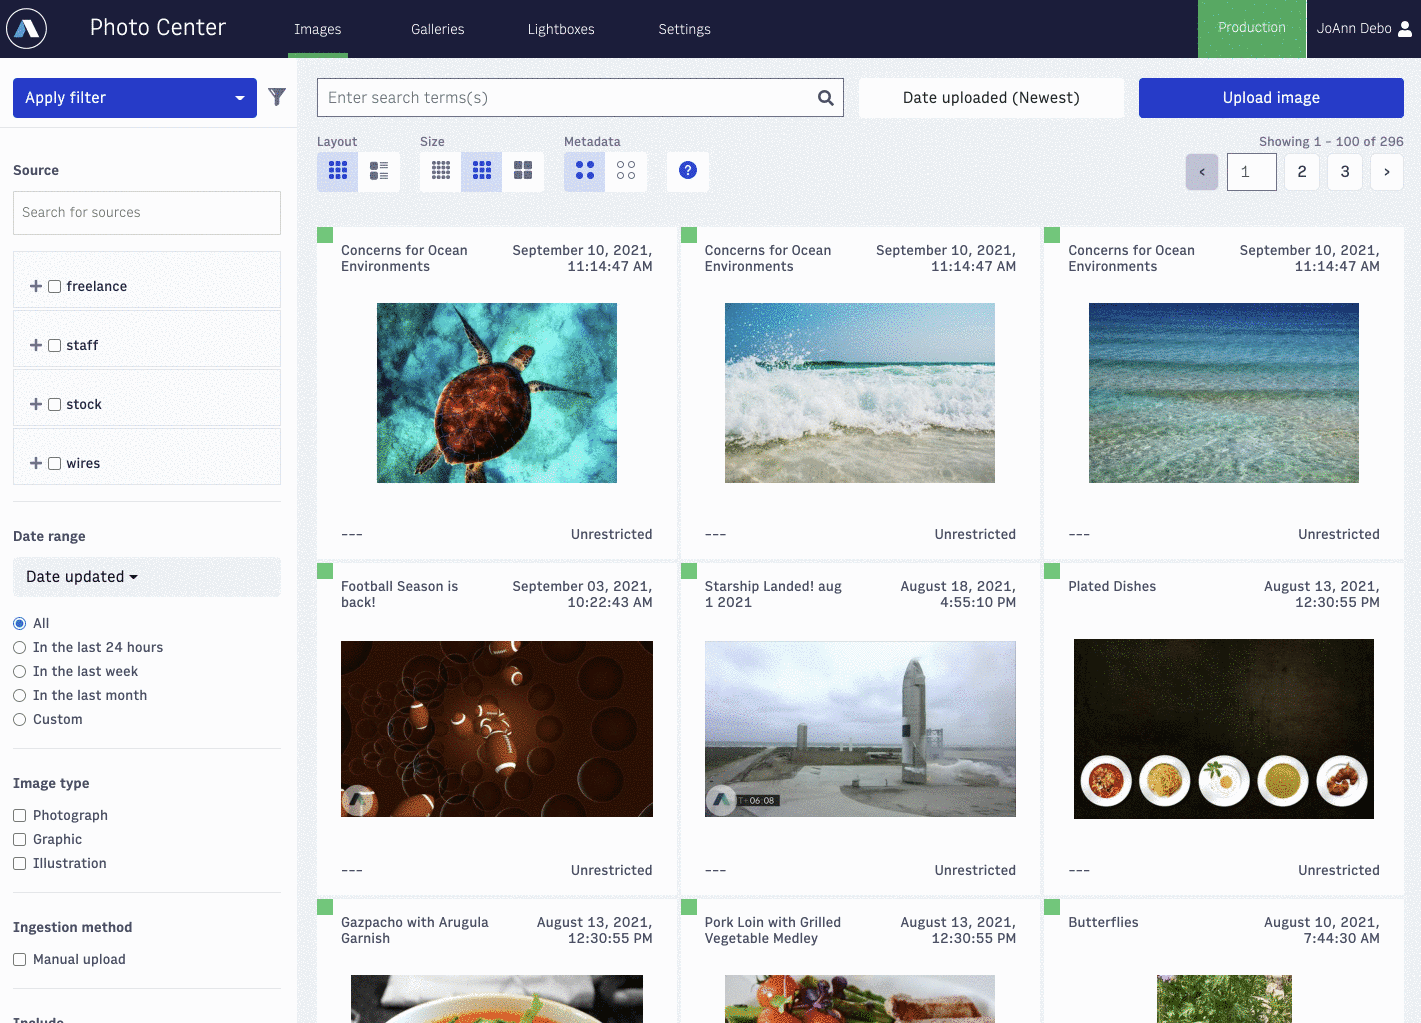
Photo Center is the image management tool in the Arc suite. It is where you can import photos, organize your images, and create galleries and lightboxes. Images may be added one by one or in batches of up to 50 images at a time.
Note
Photo Center supports the upload of .jpg, .png, .gif (and animated .gif), .bmp, .webp, and .tif files. It does not support uploading other file types, including .svg, .eps, .pdf, or .avif.
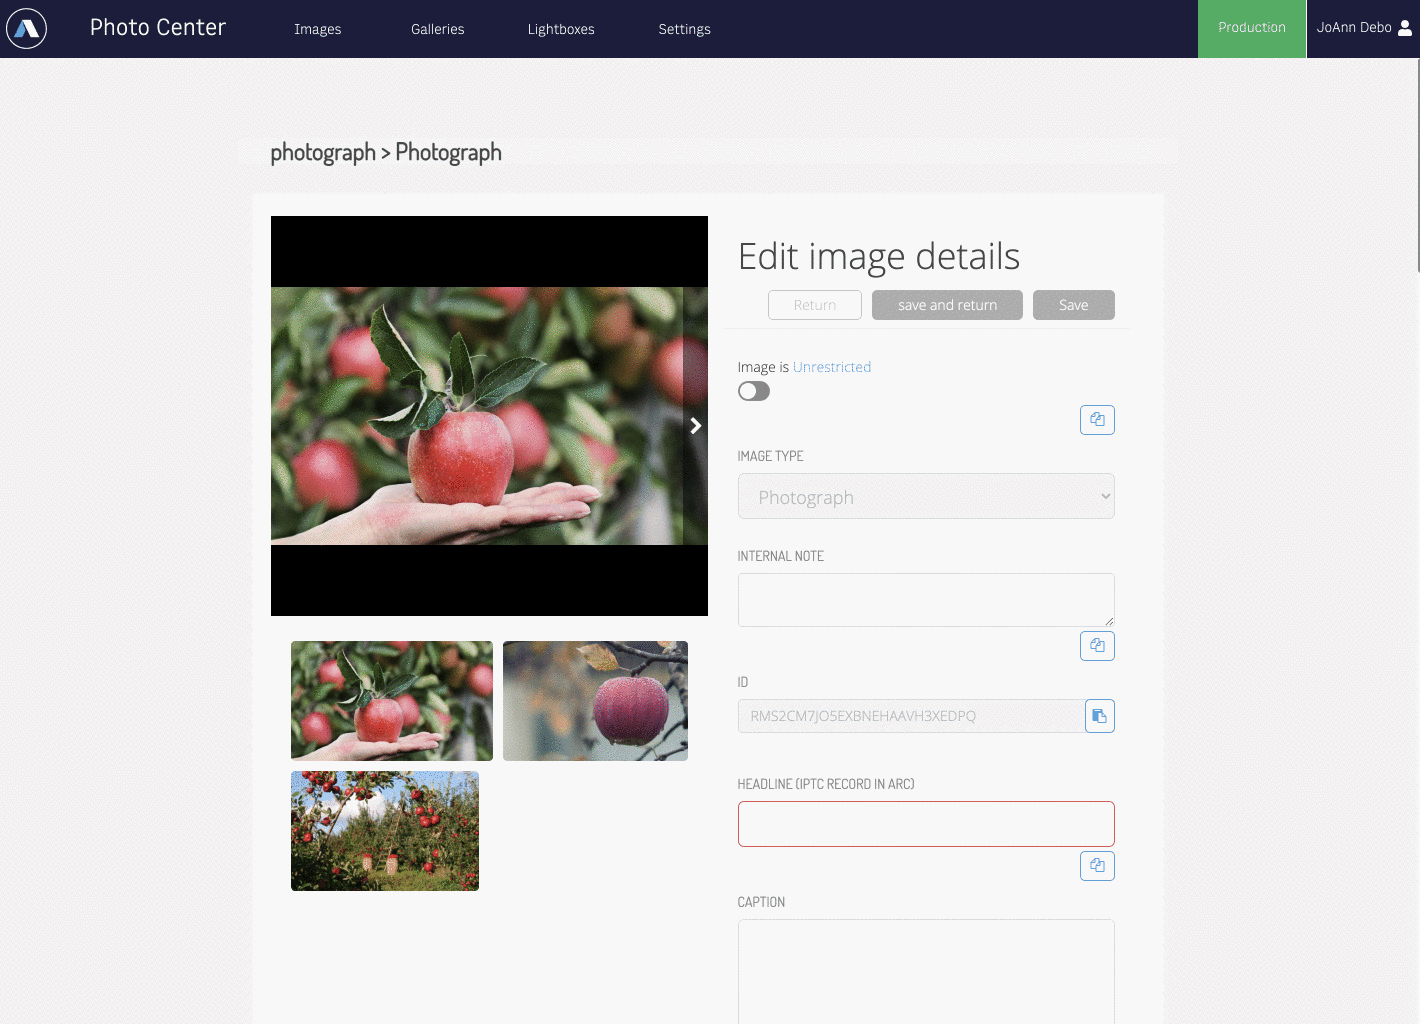
To add images, select the blue “Upload image” button in the upper right corner and select the image(s) you want to bring into Photo Center. If your organization uses image templates, you may be prompted to select the appropriate template for the images you upload. Once you’ve chosen the images to upload, click “Upload” to see the status bar for your uploading progress. When the images are 100% uploaded, you will be automatically taken to the “Edit image details” screen. If you have selected more than one image, you will see smaller thumbnails below the large preview image on the left. You can toggle between them by clicking on the small previews or the left and right arrows in the main preview.
 |
On the right side of the screen, you will see several meta fields to be filled out, depending on your organization’s workflow and requirements. Some of these metadata fields include headline, caption, alt text, photographer(s), keywords, usage instructions, and more. If the uploaded image has IPTC metadata associated with it, that information will populate these fields. A “Copy to all” button under each field allows you to associate that metadata with all the images in the batch. If a field is required to save, it will be outlined in red. If that field is not filled for all images in the batch you’ve uploaded, you cannot save your images.
Once you have added all the info you would like, click “Save” at the top of the screen to save your information and continue working in this screen, or “Save and return” to save your work and return to the main Photo Center image library.
 |
Uploading into Composer
You can also upload new images to your article and the Photo Center image library from Composer. Start by adding the image content element into the body of the story, which will pull up a portal into Photo Center. In the upper right corner of that screen, you see the same blue “Upload image” button. Follow the instructions above, and the image will be added to your article. Then click Select in the bottom right once the image is in the library.
If you do not see the Upload image button, you will likely not have adequate permissions and need to speak to your site administrator(s).