Step by Step guide to creating basic Offers
The Arc XP Subscriptions Retail Offers tool allows marketers to easily manage products and marketing campaigns to drive their business forward. To build compelling Offers and Campaigns, marketers start with creating Products and Prices. The steps below will guide you through creating basic products, prices and offers.
Step 1: Creating Products
The Product and Price admin makes it easy to build products with multiple price options.
Note
To use switch between the new and old Product & Price views just select “View new design.” New features may not be available in the old views.
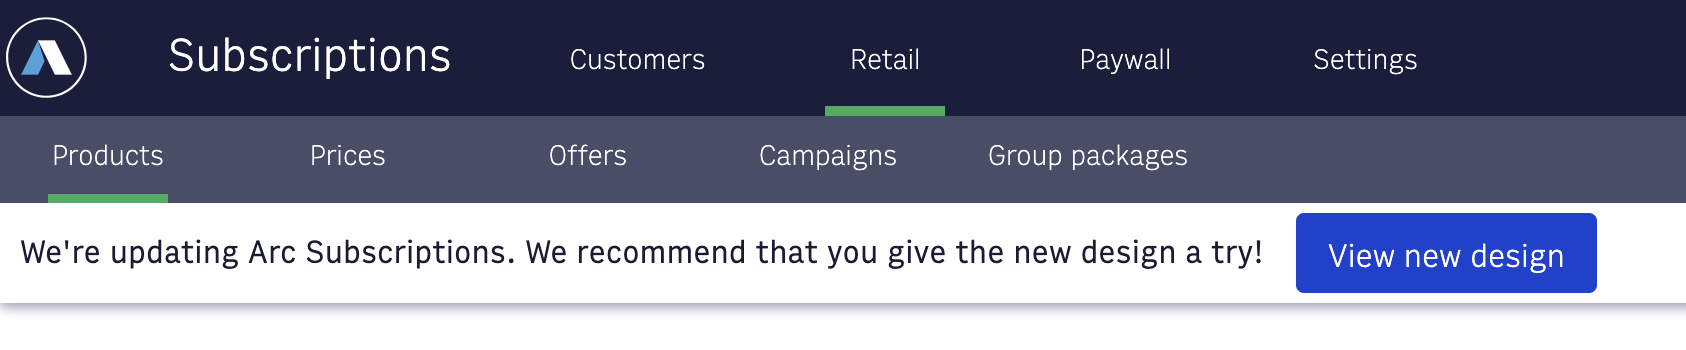
In the Products tab selecting the “Create Product” button on the upper right side. The main Products tab will also show a list of all the products configured in your environment.
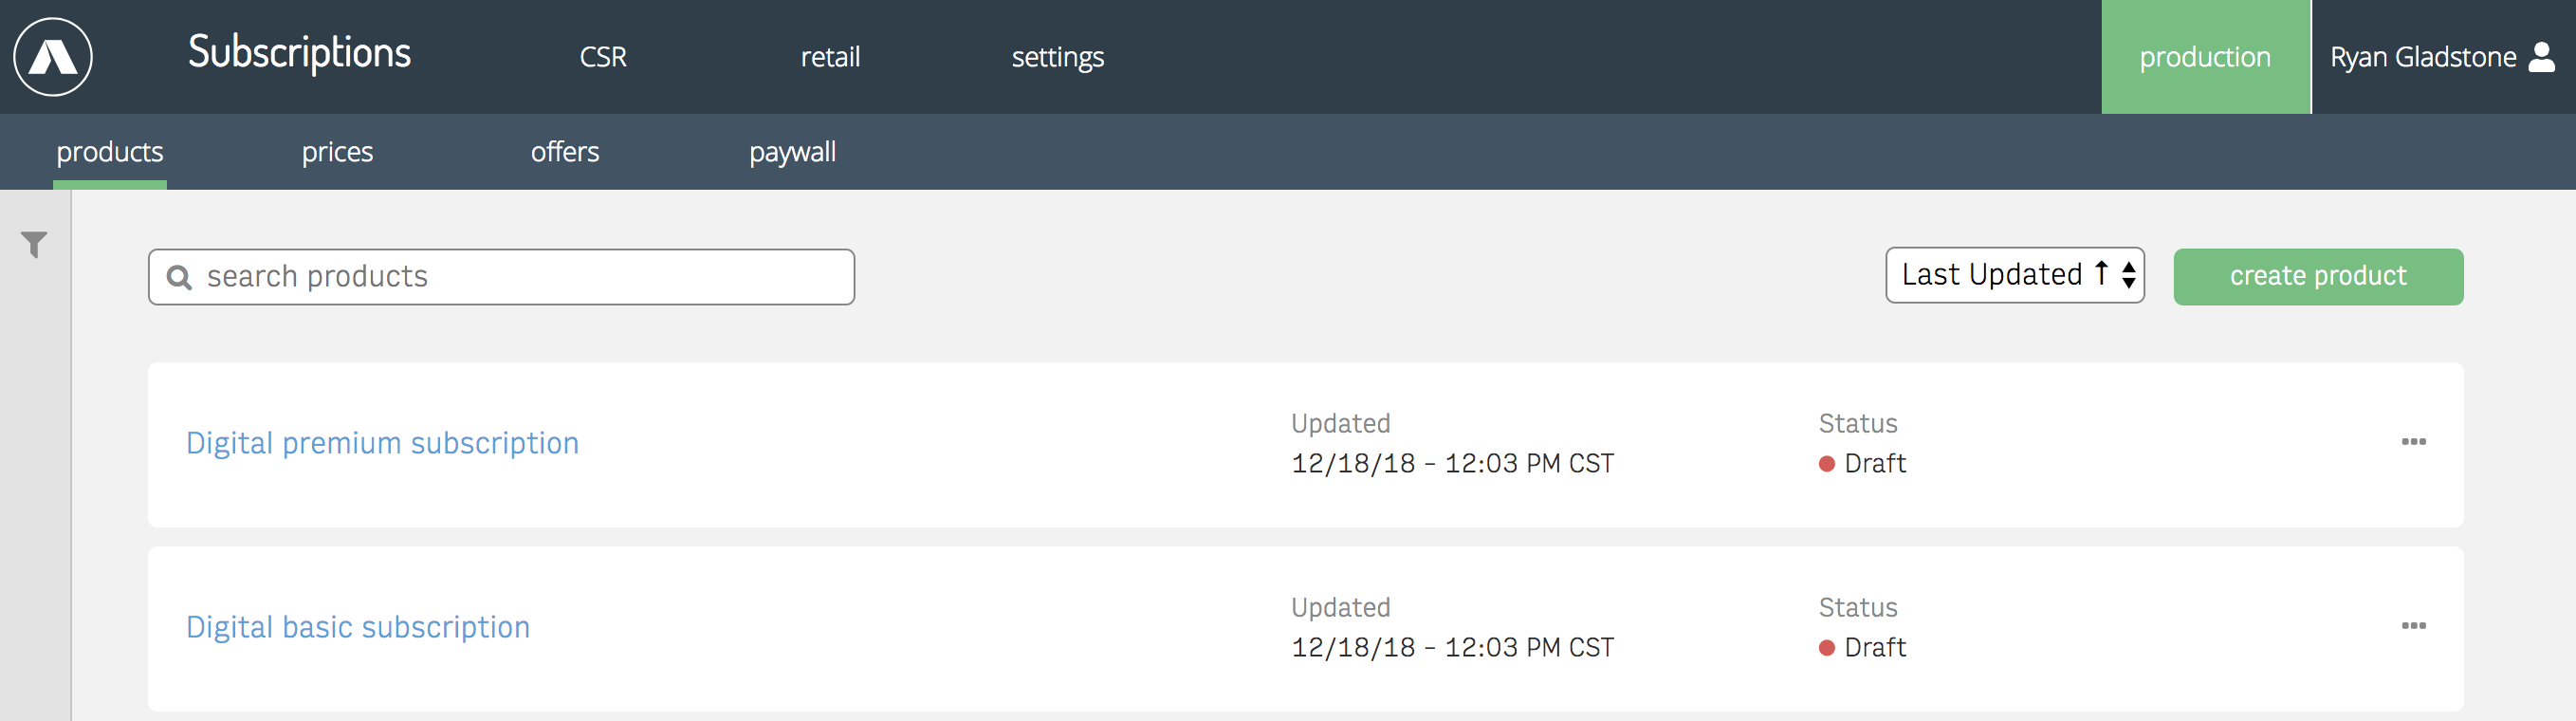
Tip. To keep your product catalog manageable, we recommend limiting the number of products. Offers and campaigns can more easily be used to tailor messaging for marketing promotions.
Step 2: Add Product Details
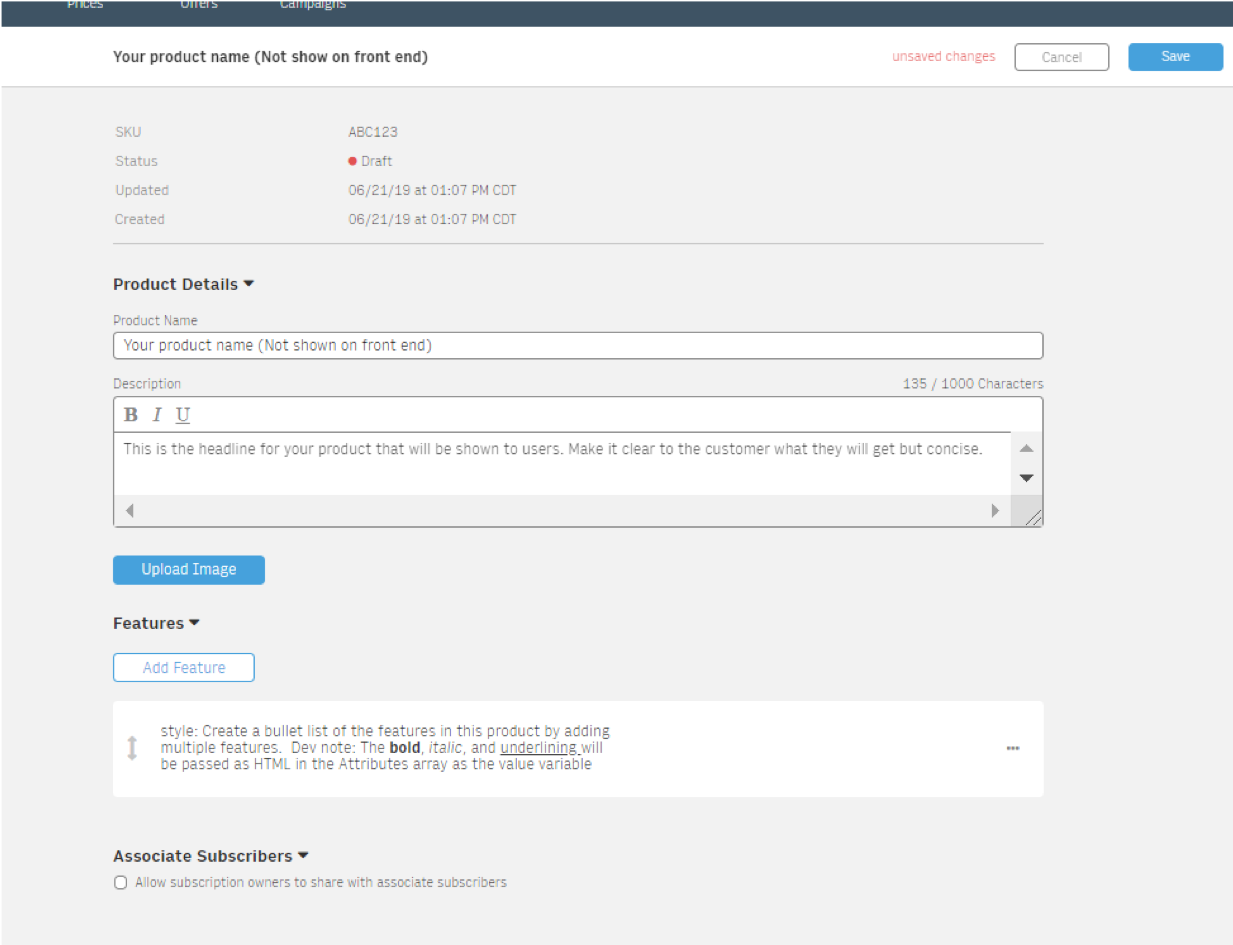
After selecting “create product” you will need to enter your Product Name and the SKU. The product name can be changes but the SKU is the unique identifier for this product and cannot be modified once created. You can begin to add your product details on the Edit Product screen once the product has been created.
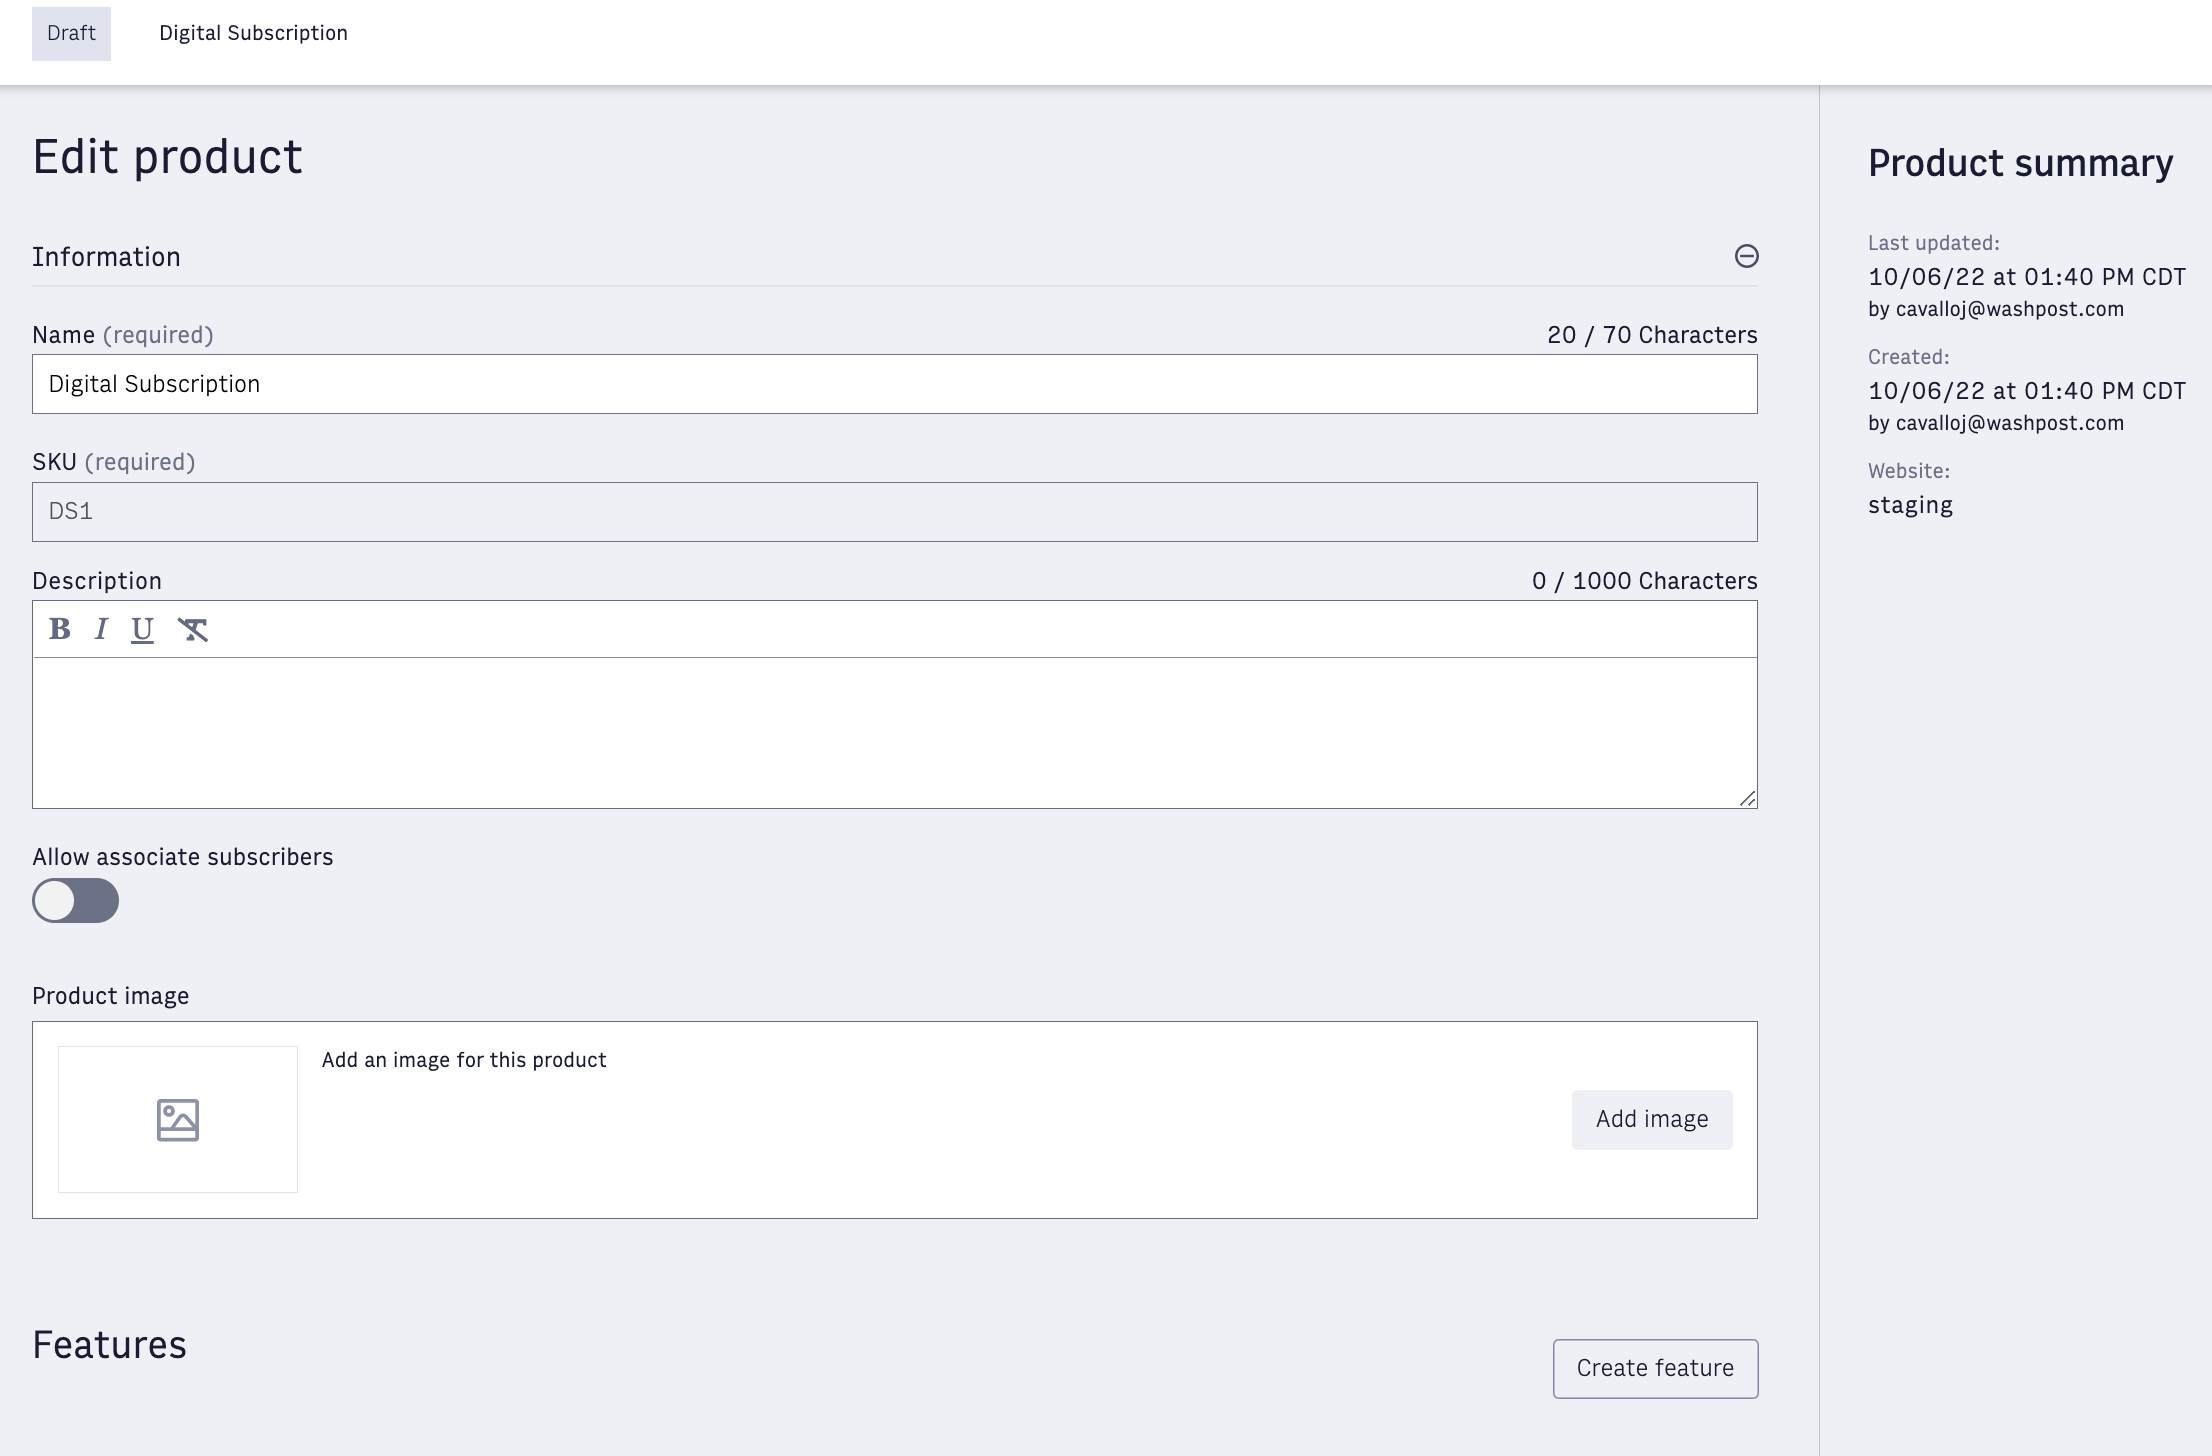
The side bar provides an overview of when and where the product was created. Product has a few attributes, which can be used to render offer pages
sku (required) — the is unique, immutable tracking name that you provide when creating a product.
name (required) — the customer-facing display name of the product
description — the customer-facing summary of the product
image — a depiction of the product
features — a list of benefits of the product. Each feature has a style, which can be used to style it in the front or drive an alternative rendering
allowed associate subscribers — You can offer the ability to share this subscription product with a finite number of users, such as family members.
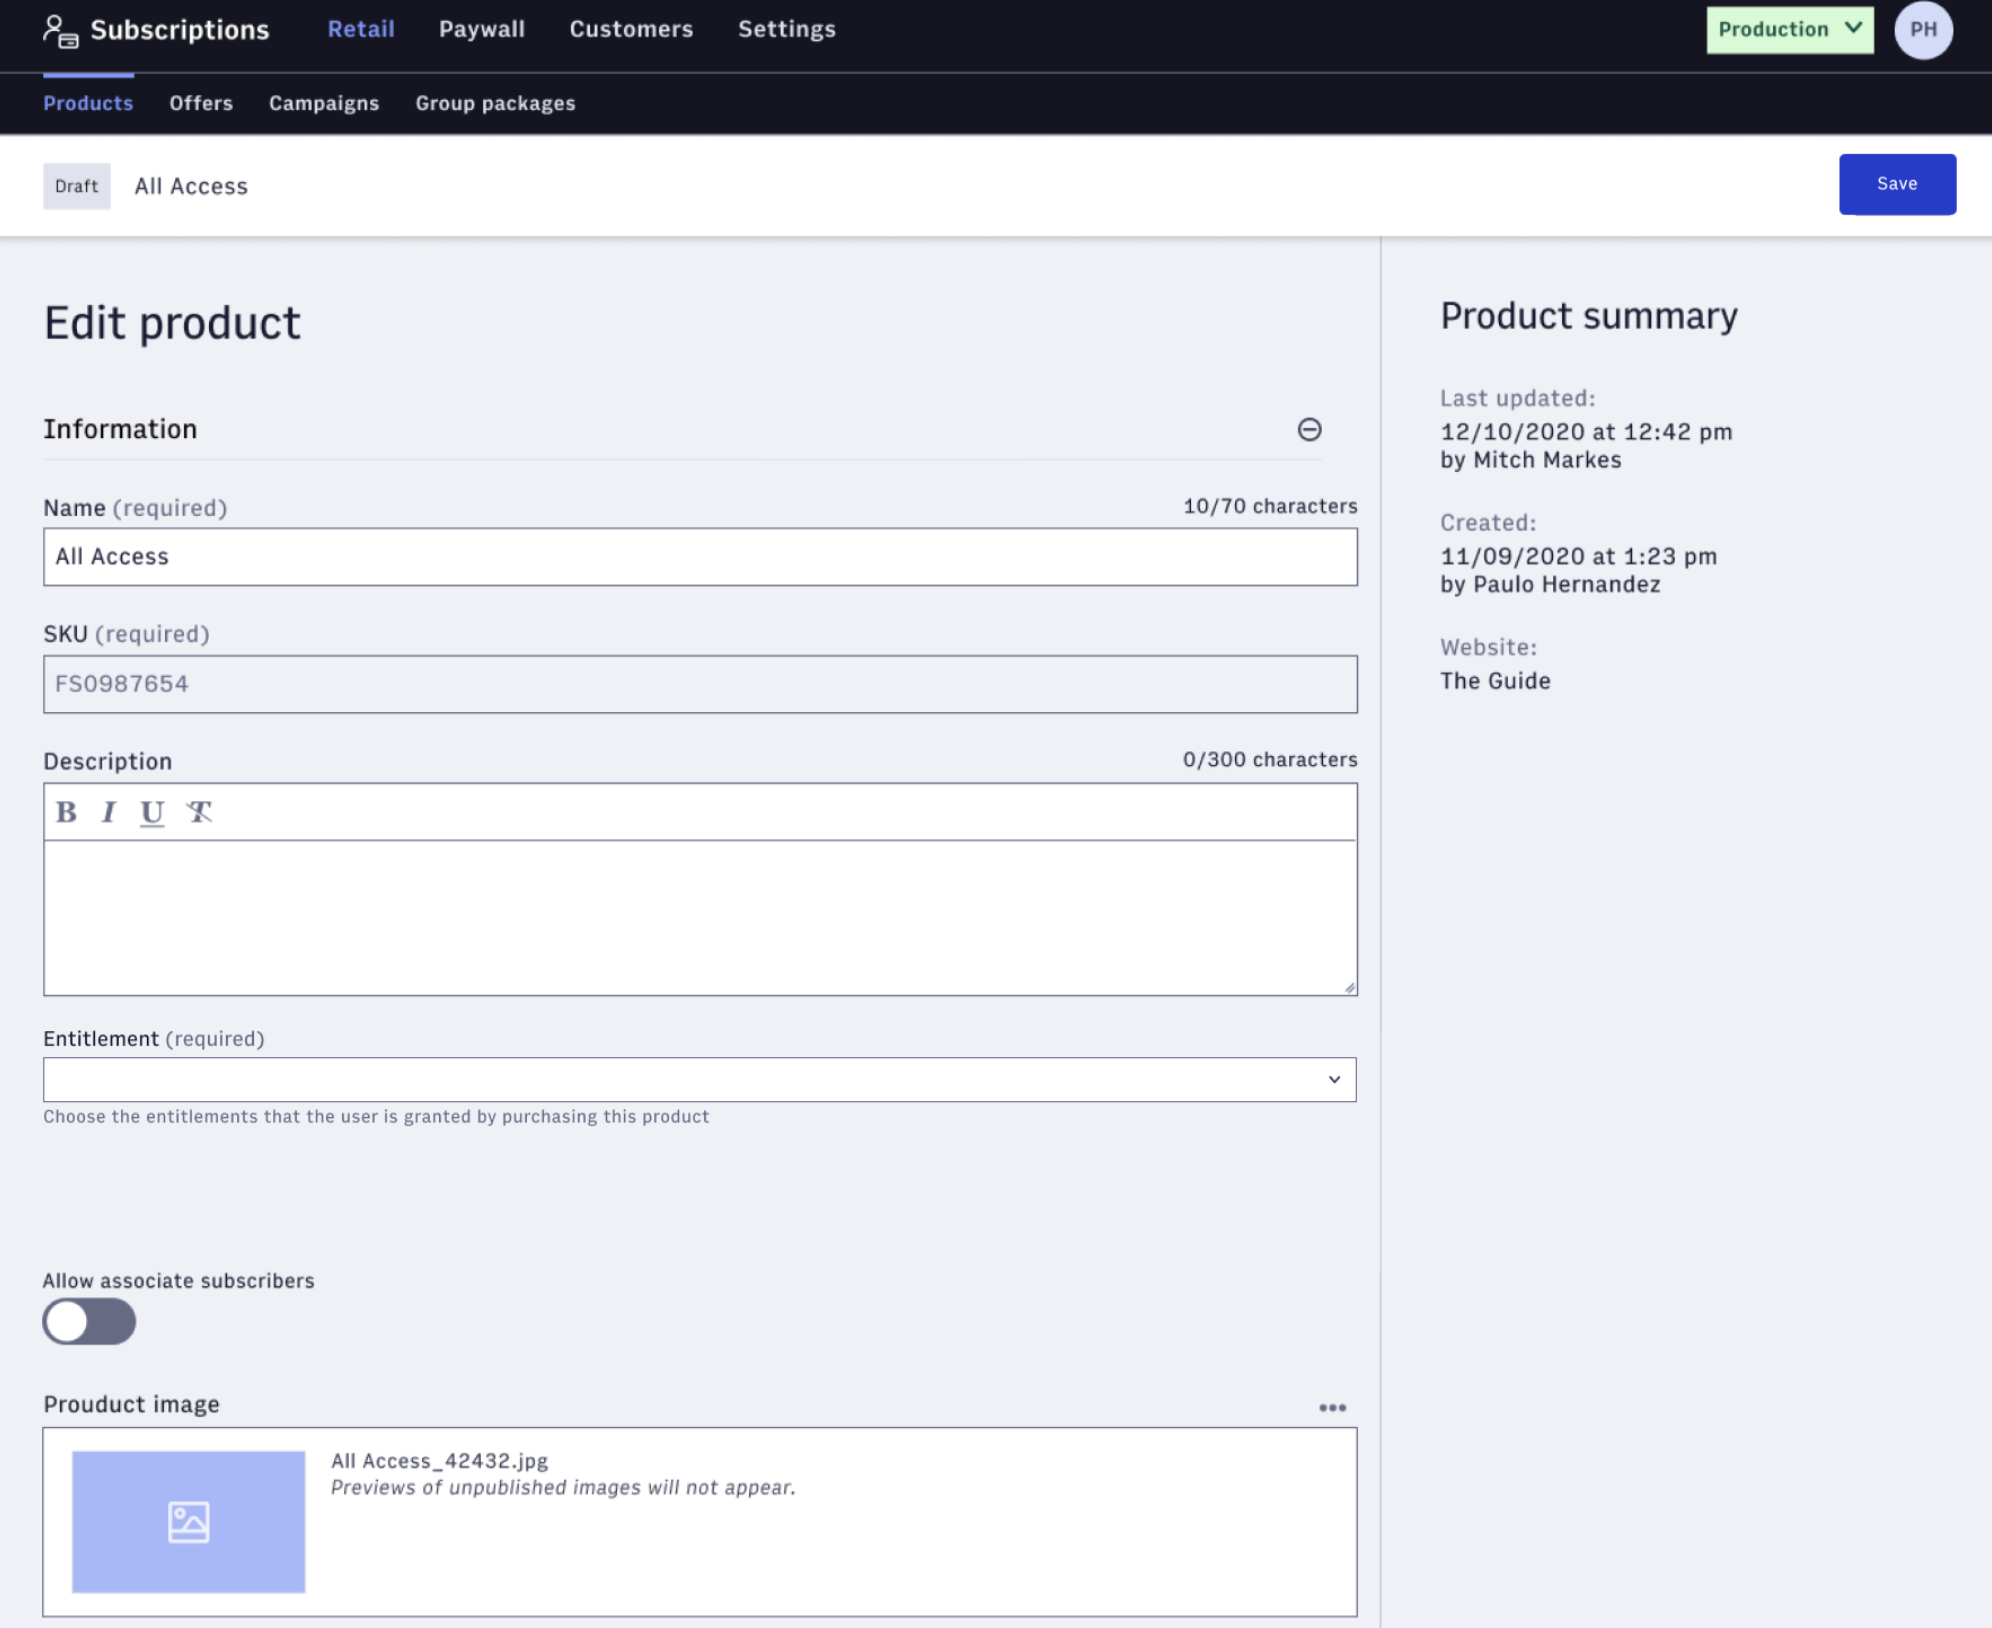
Step 3: Link Entitlements to your product SKUs
For each of your products you will need one or more Entitlements. The Entitlement provides access to the section or content type when a paywall is deployed for subscribers. To create a new Entitlement, use this guide.
Entitlements can be added in the Product screen. Just select the Entitlement in the drop down menu. These can be added and removed as needed in the future.
 |
If you currently have multiple products and want to update Entitlement in bulk, contact Arc XP Customer Support.
Note
Entitlement is only available on the new product screens.
Step 4: Create Pricing Strategies
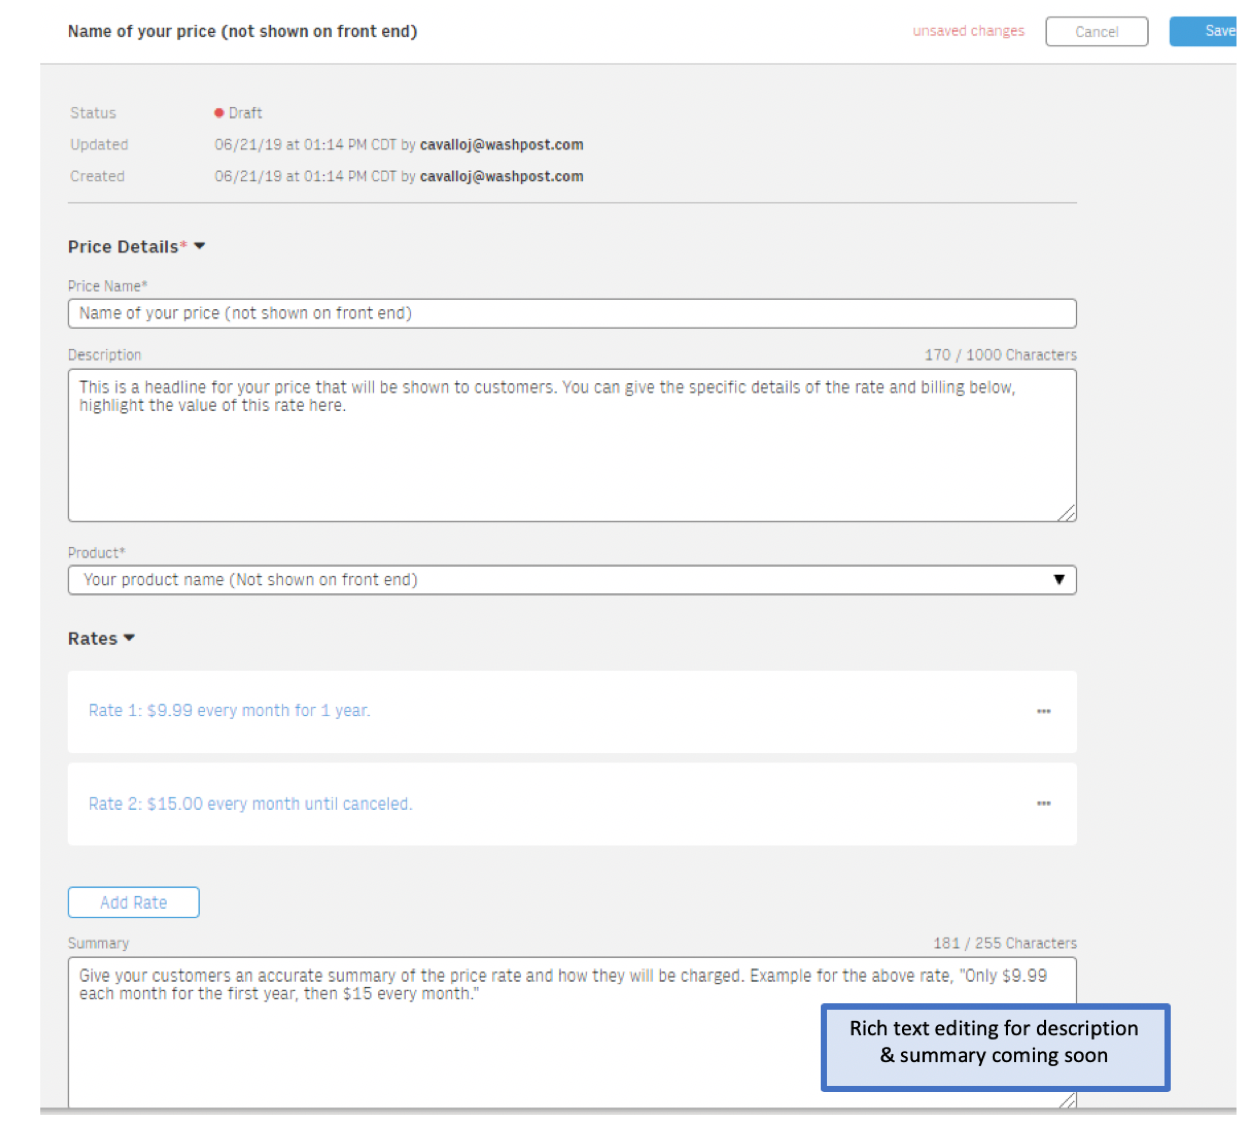
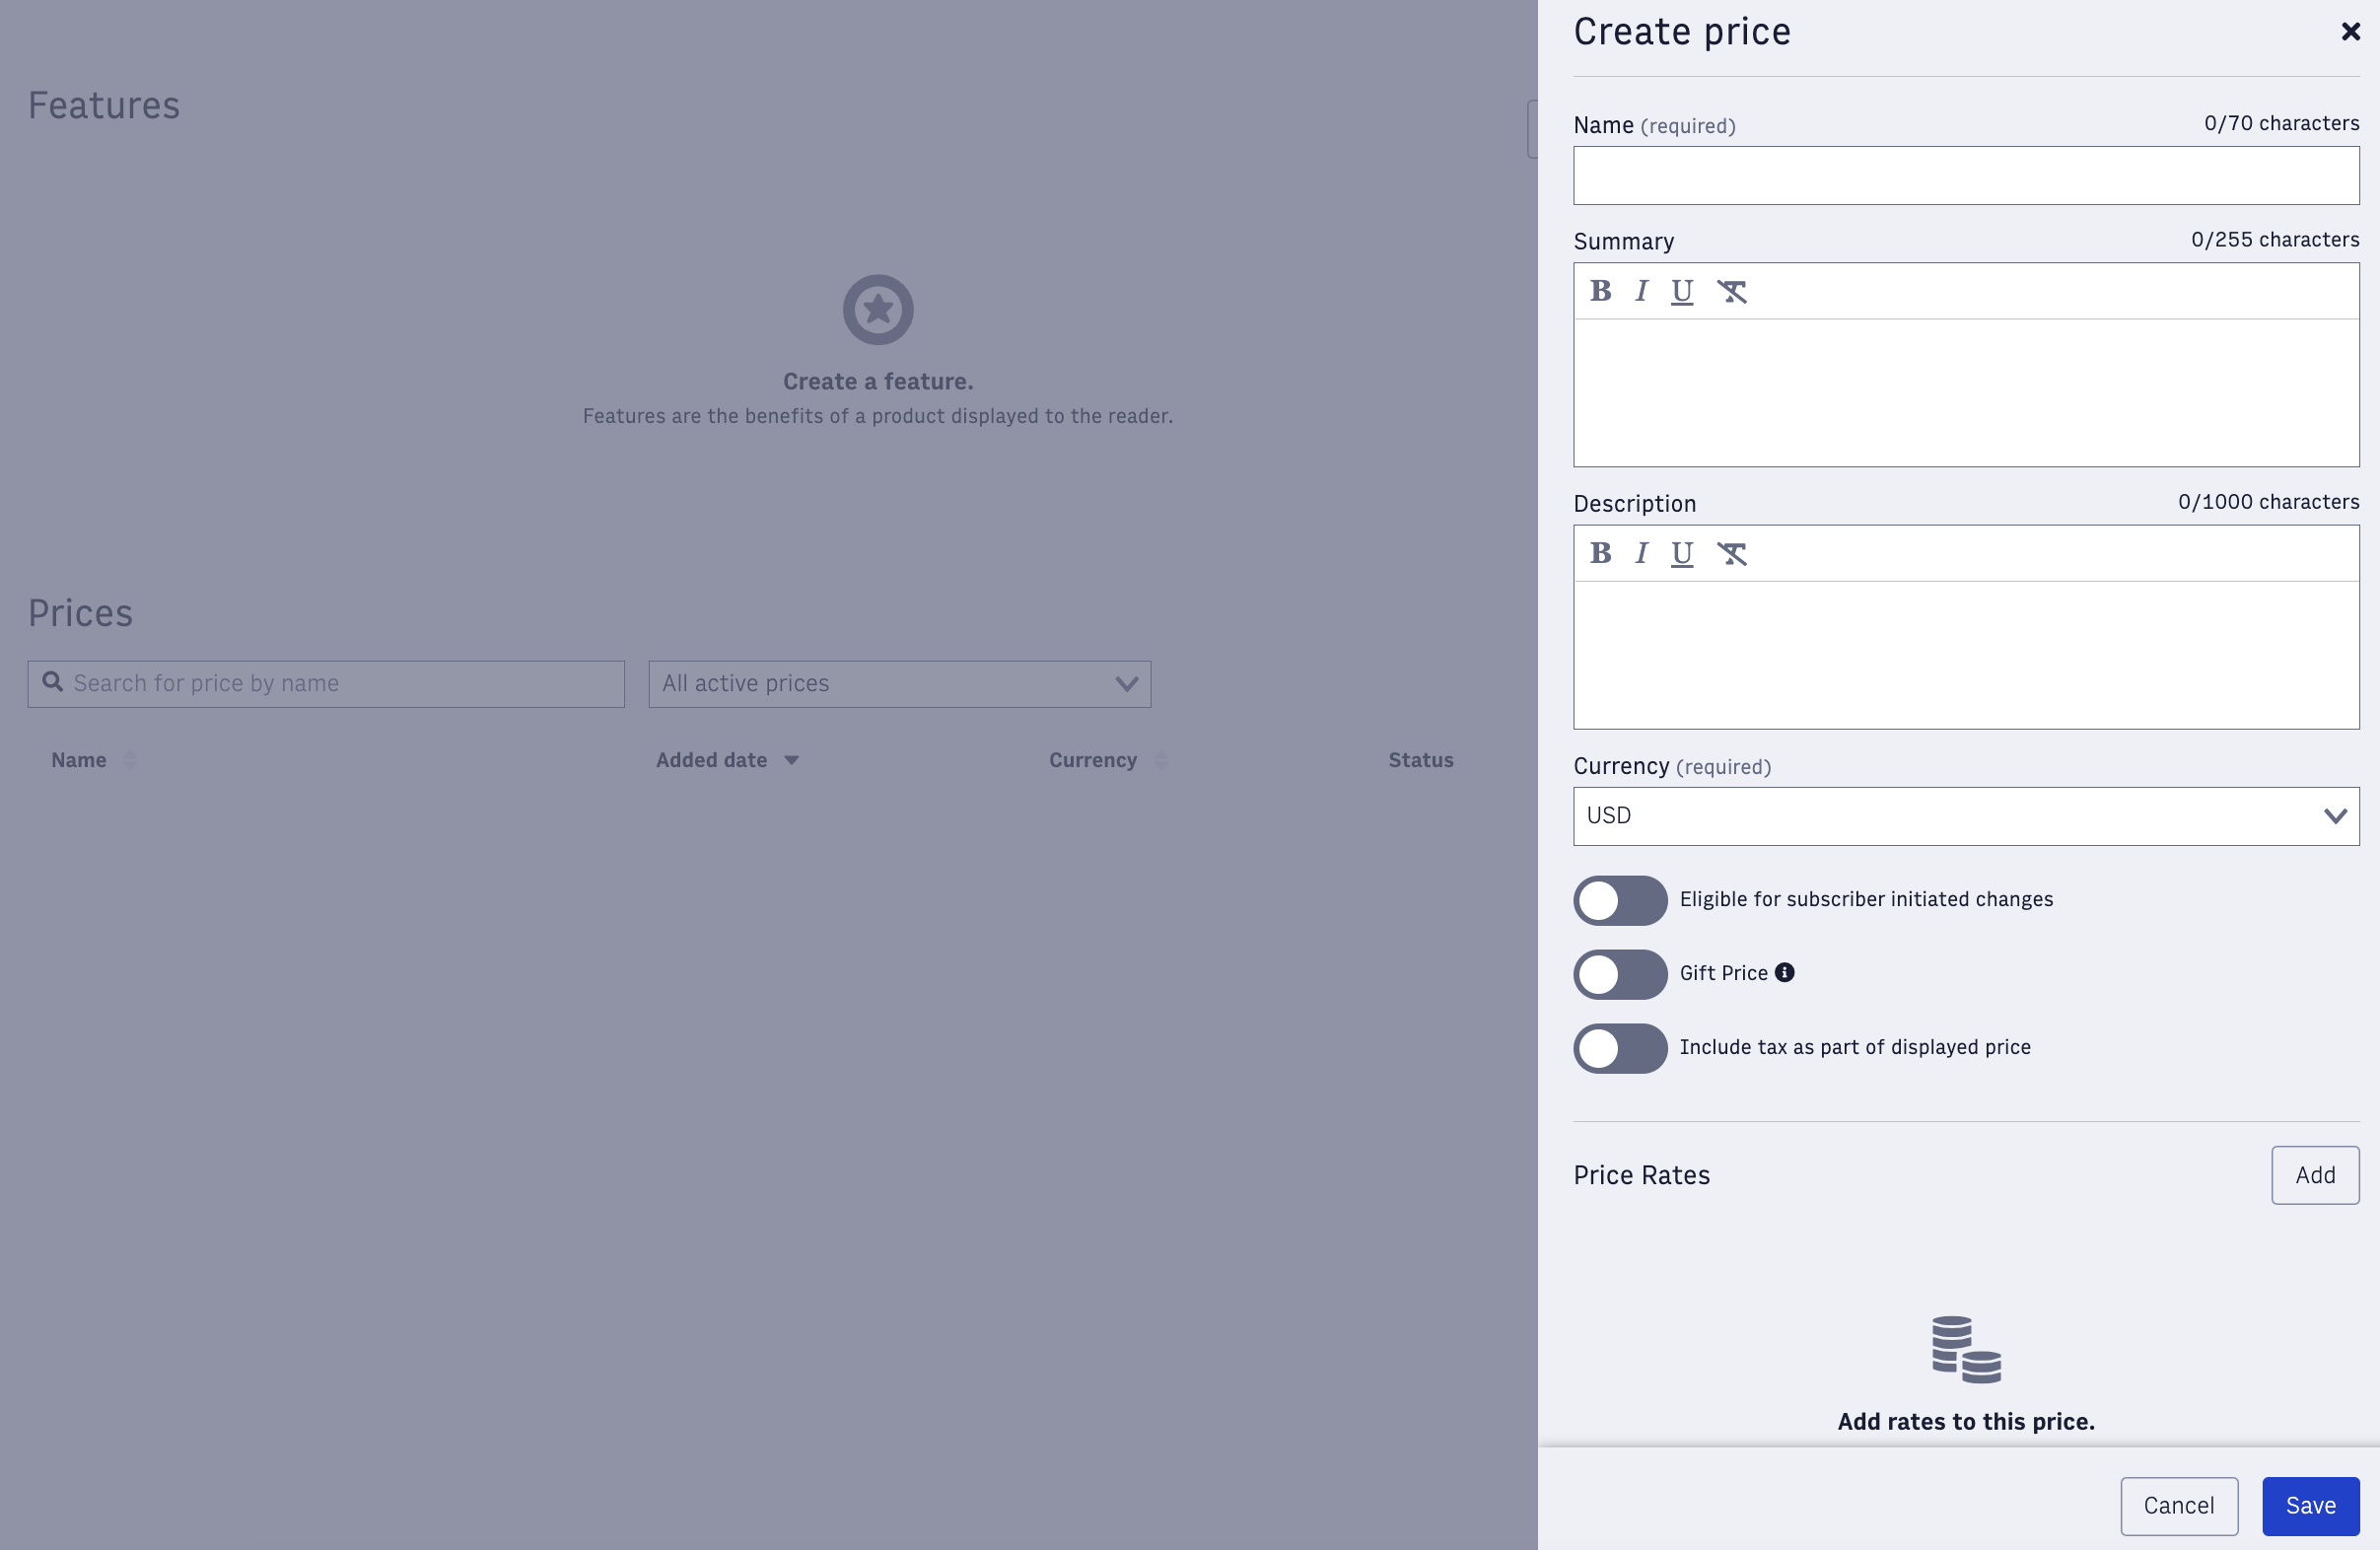
Each subscription product needs at least one pricing strategy, which is a sequence of rates at which the customer will be billed. You can configure one-time or recurring payments. To set up pricing strategies for your organization, click the Create price button in the Product screen.

You either create a price from scratch by clicking ‘create price’ or hovering over the right-hand side of an existing price and cloning it.
Each price belongs to one product, but a product can have multiple prices.
Example hierarchy
Product: All Access
Pricing Strategies:
All Access -- retail -- monthly
All Access -- retail -- annual
All Access -- first 12 weeks discounted -- monthly
All Access -- first 12 weeks discounted -- annual
Using these example products and pricing strategies, you can create an offer that features the All Access product and gives customers two pricing options: Discounted Monthly and Discounted Annual.
The priceCode is a unique identifier per price. Our system automatically creates a priceCode each time a new price is created.
Step 5: Customizing the currency
Your default currency is configured in the Setting Admin and can be updated anytime. When changing the default currency, previously created currencies are not impacted.
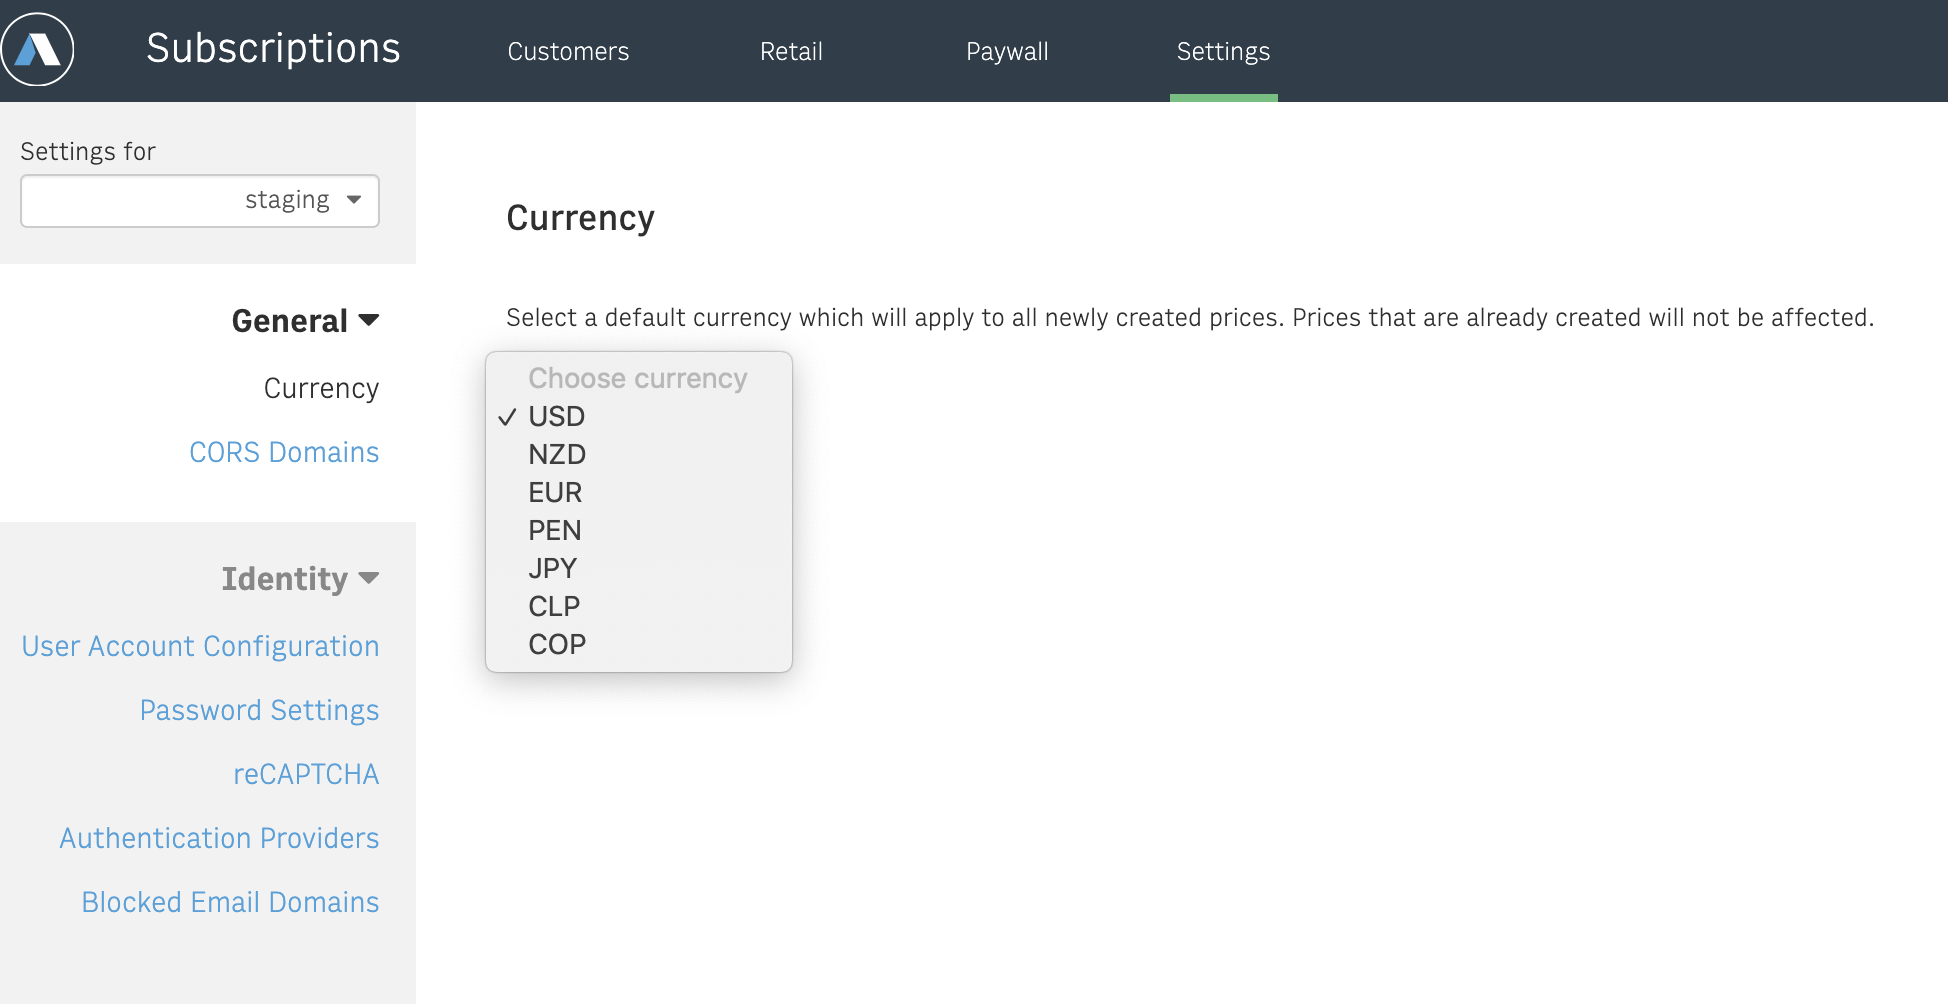
To request to add a new currency as a price option, contact Arc XP Customer Support.
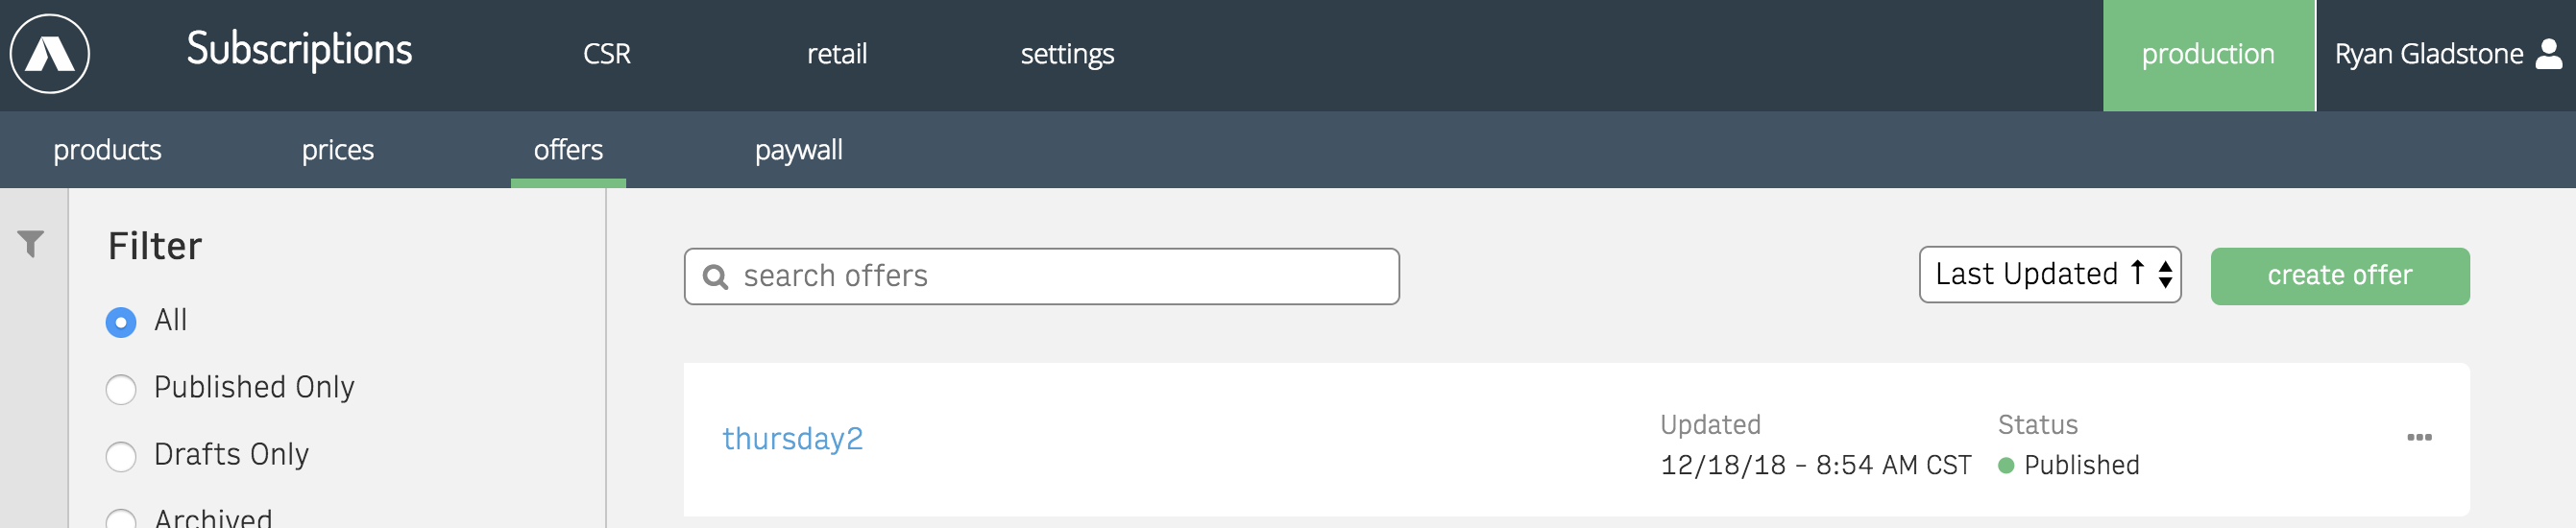
Step 6: Building Offers
Once you have your products and prices configured, you can build offers to showcase what you’re selling. You can view existing offers and filter by publish status by click on offers in the secondary nav.
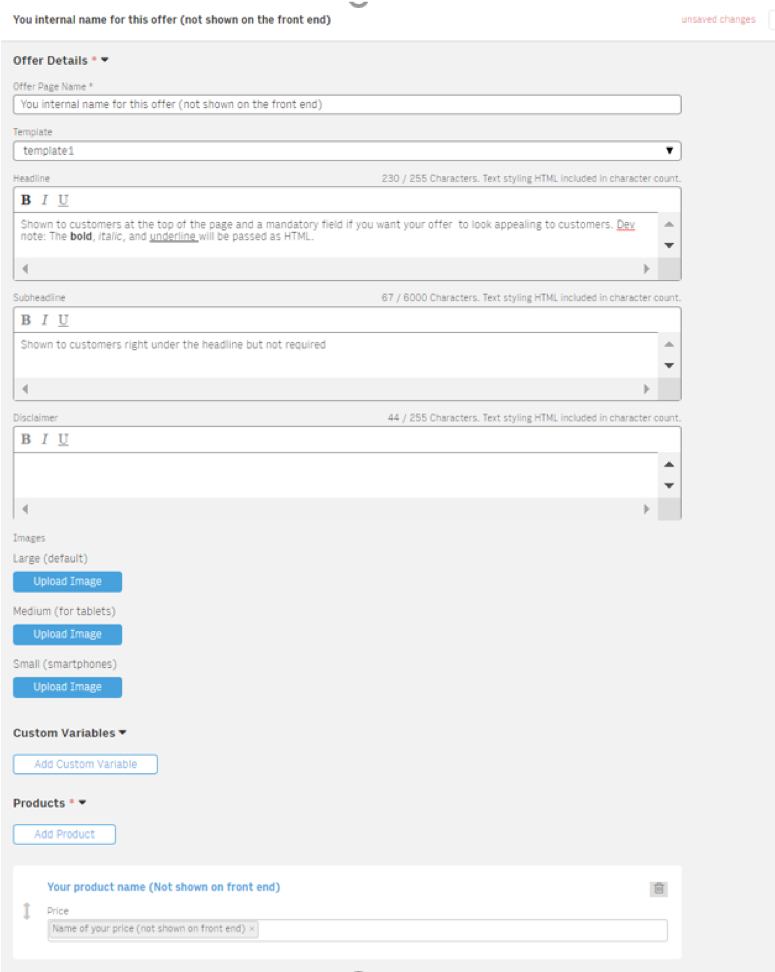
Click create offer to start a new offer. Give your offer a name and select which template should be used to render the offer. The templates select list is configured in settings and should resolve to a PageBuilder page.
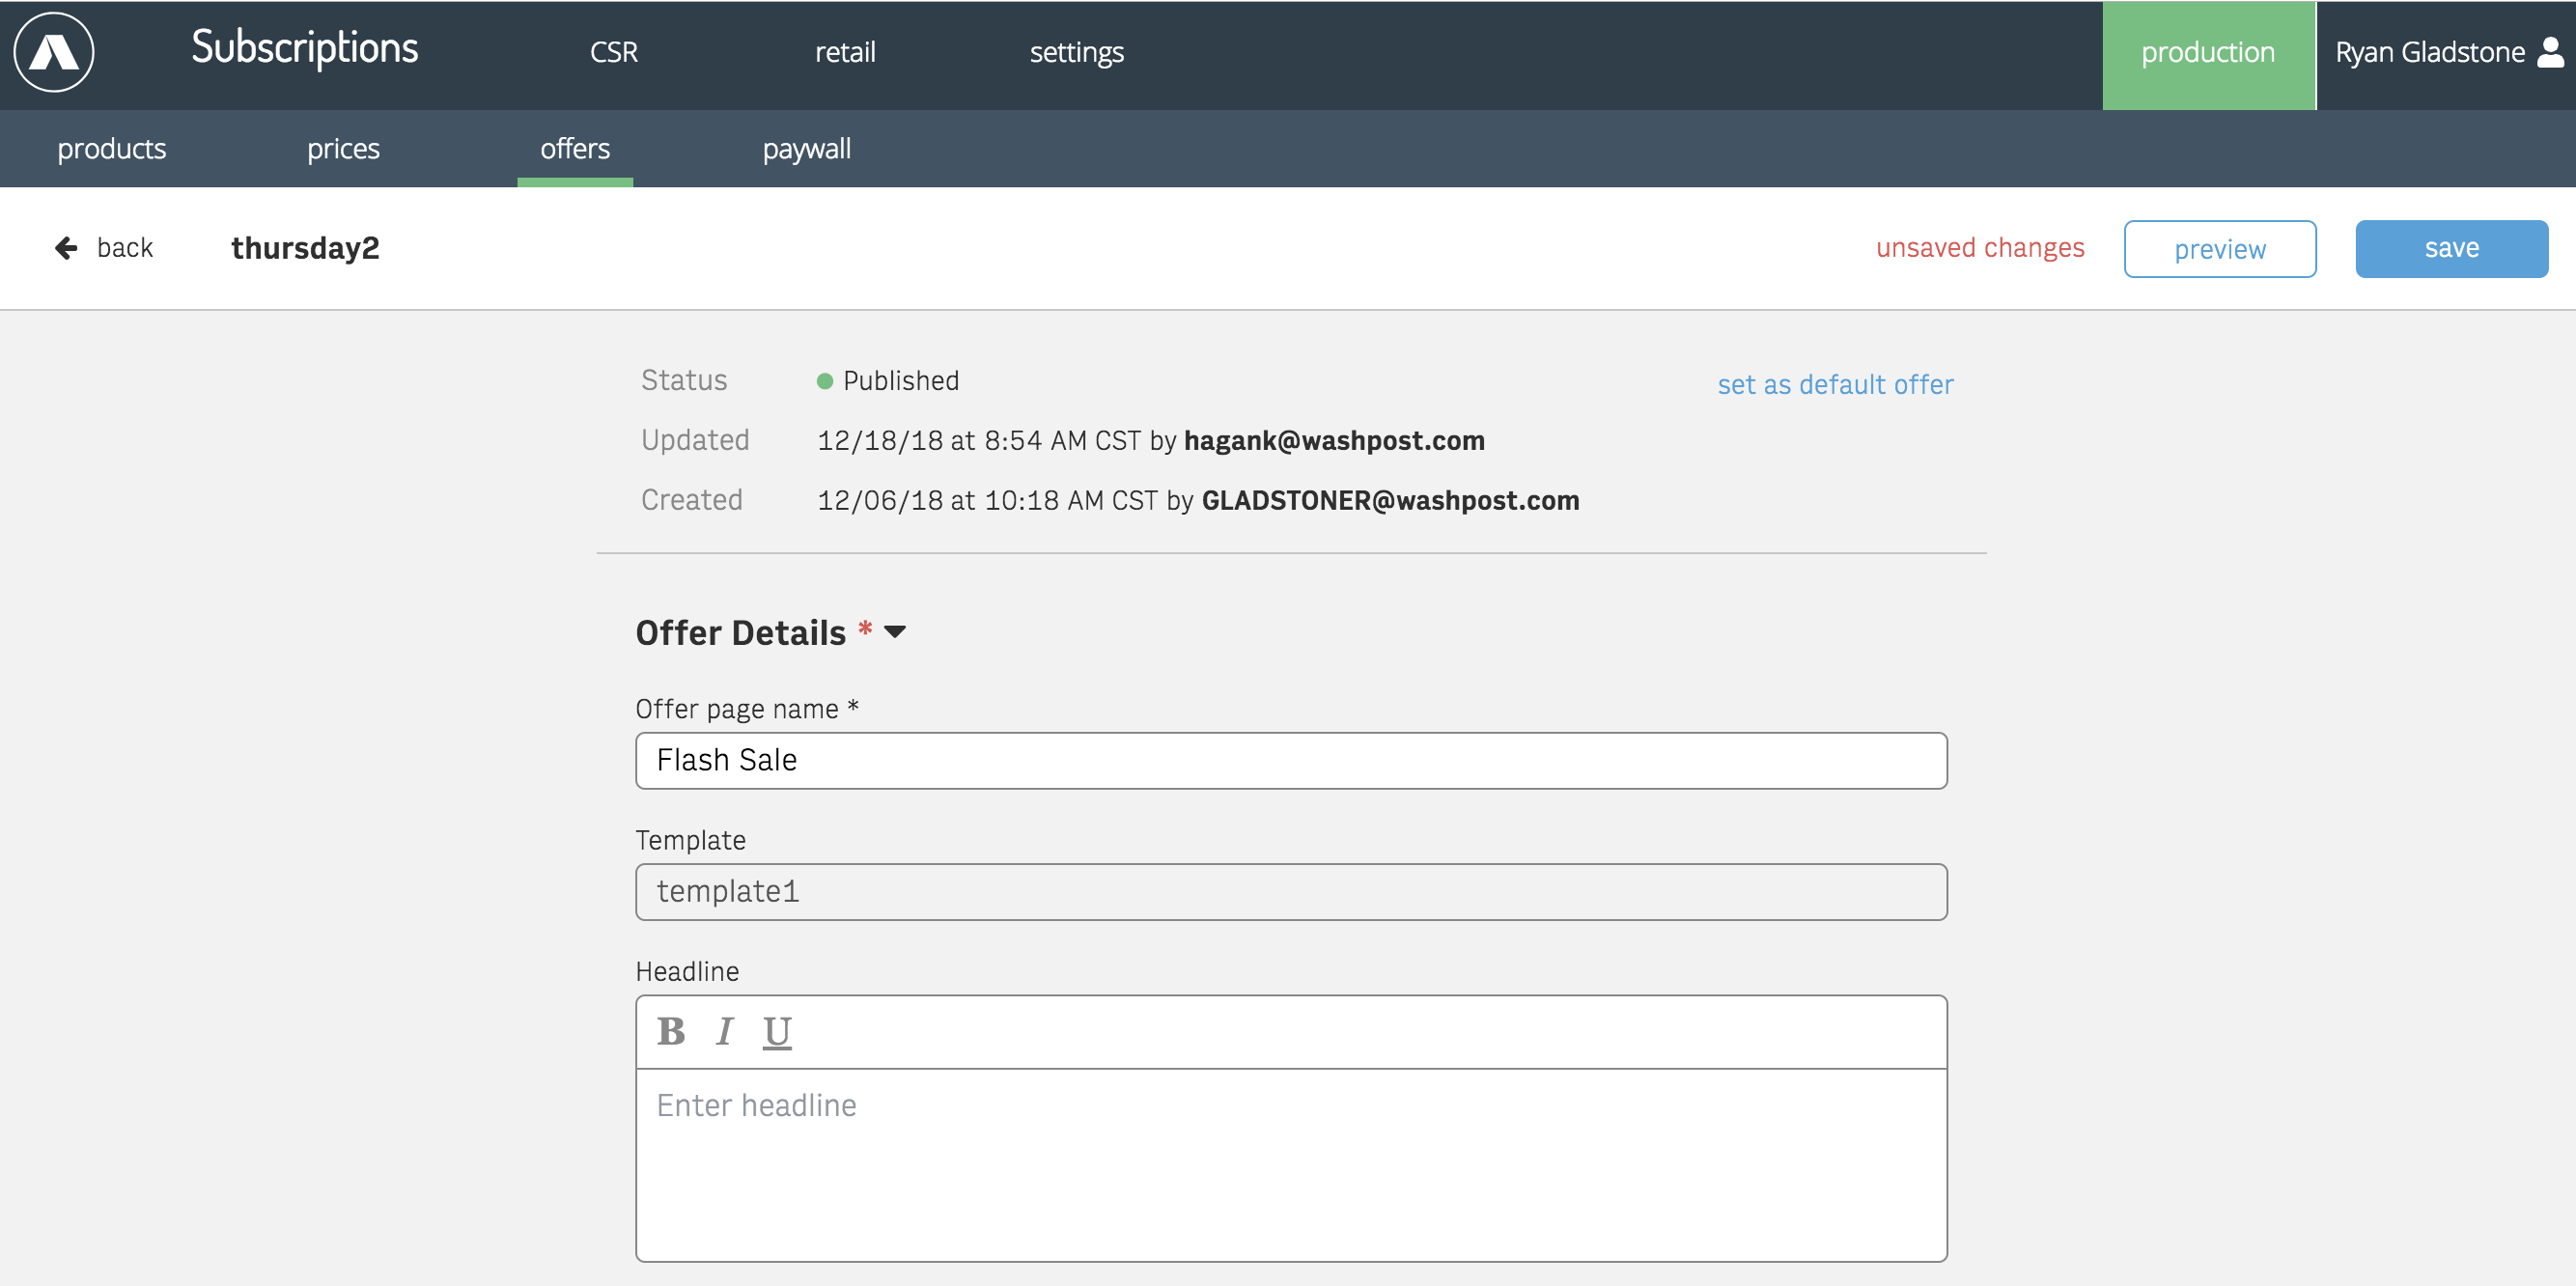
Next up, add a headline, subheadline, and disclaimer as needed. Adding images is also optional.
Custom variables provide a way to add arbitrary key/value pairs to your offer response, which is helpful to extend the fields that are configurable in the UI.
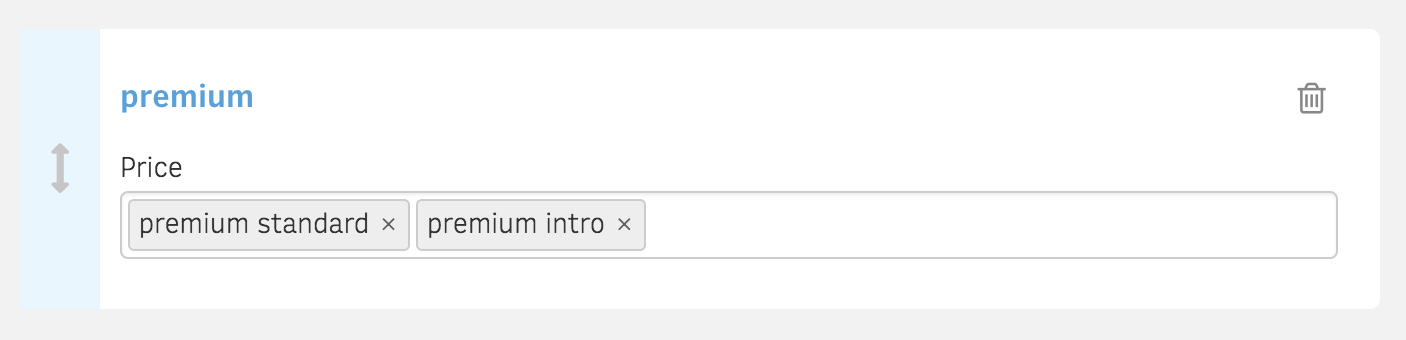
Add at least one product to the offer. Each product must have at least one pricing strategy. A product can feature two or more pricing strategies, typically used to highlight different term lengths.
Step 7: Scheduling Campaigns
Add one or more campaign code. This code is what you’re use in your marketing and provides a way to gate access to an offer. For example, you can run a flash sale that last three days like this:
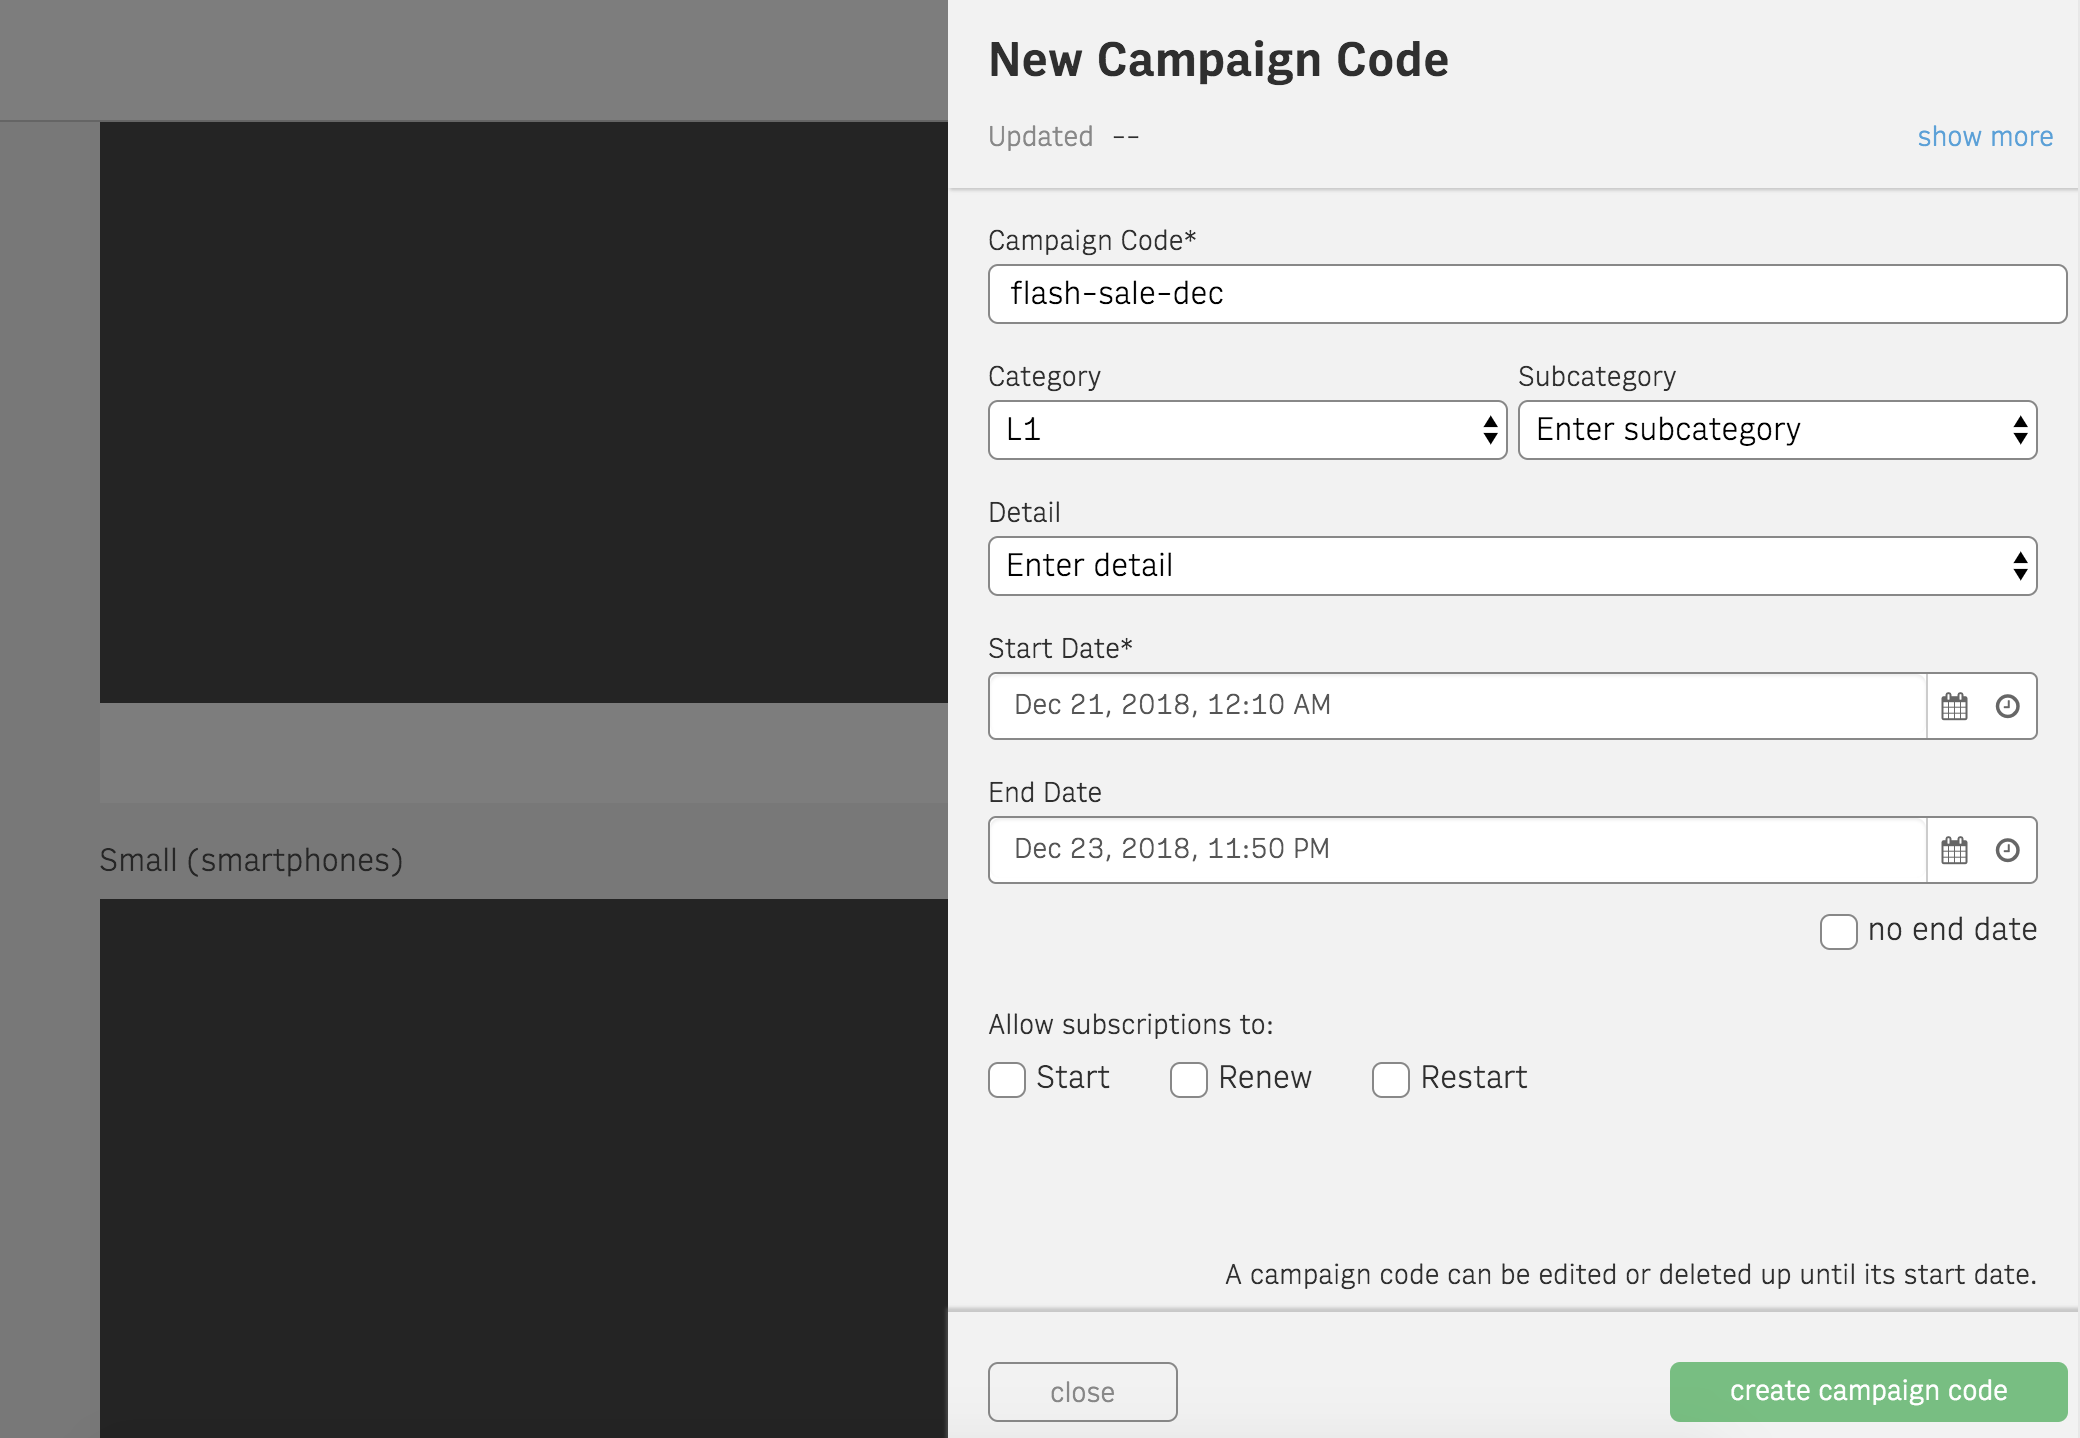
When configuring campaign codes, you can specify if it can be used by customers with an existing subscription by configuring the allowed uses.
Finally, you’re ready to share your offer with the world. Hit the publish button in the top right hand corner and start sending traffic to a valid campaign code.
Products, prices and offers all have a “published” status, but you only need to publish the offer. All products and pricing strategies that are included in that offer will be marked as published as well. Once an entity is published, only limited changes are allowed so that existing customers’ subscriptions are not affected.
Quick Create Reference Sheets