How to Use Lightboxes in Photo Center
Lightboxes are a way to internally organize and collaborate around a collection of images within Photo Center. Two common user cases for this would be:
You have a large collection of images for a particular story, and you want to gather them all in one place and communicate preferences or other details.
You want to collect images around a theme. For example, you want to put all of your generic images involving police cars so that when there is a breaking crime story, you have a variety of images that are easy to grab quickly.
While lightboxes are created and maintained in Photo Center, they are exposed in Composer to make accessing them while creating a story a snap.
Creating a Lightbox
Inside Photo Center, click “Lightboxes” in the top menu bar, then the green “New lightbox” button. Name your lightbox and click “Save”. The screen will change. Click “add photos” and select the images you would like.
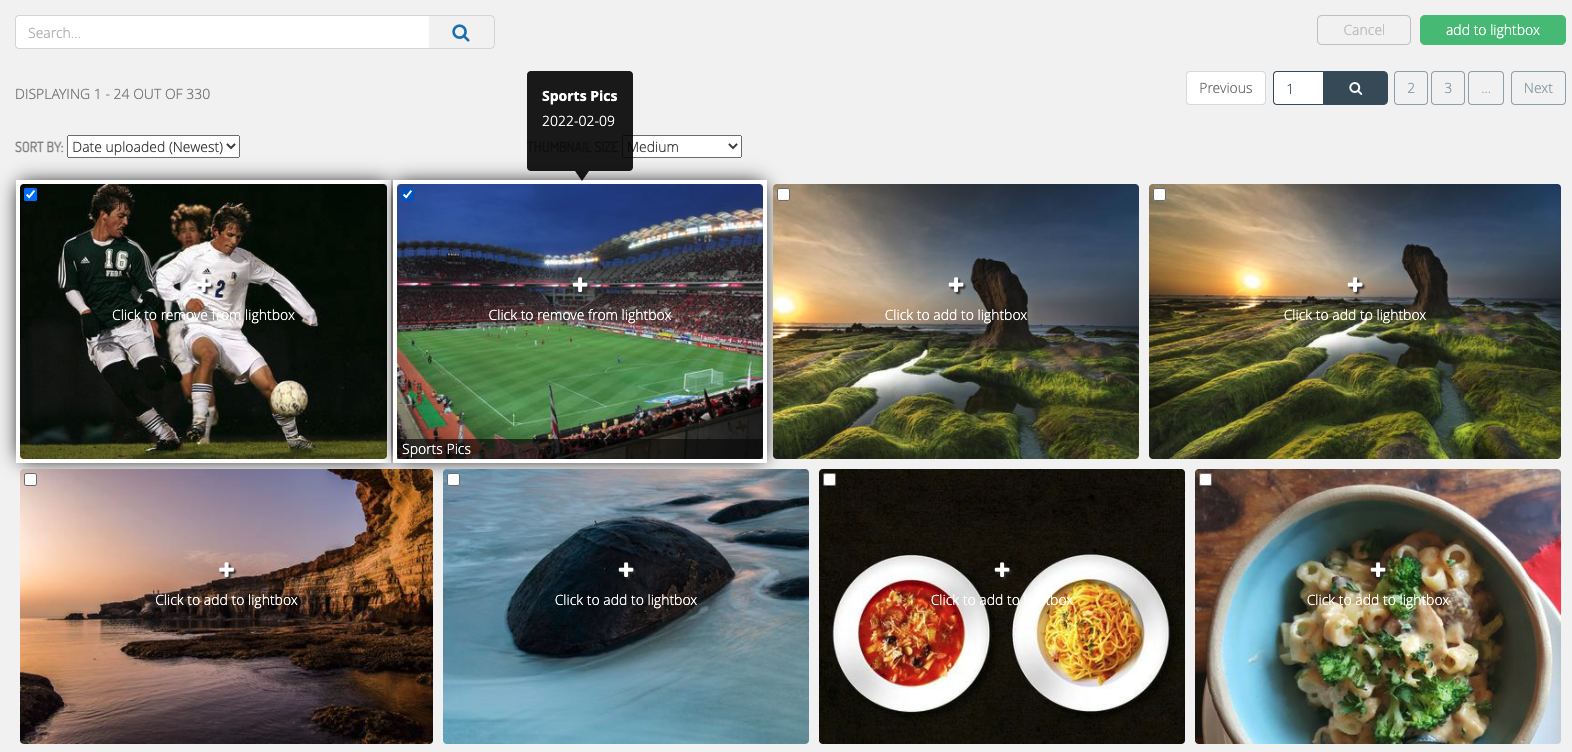 |
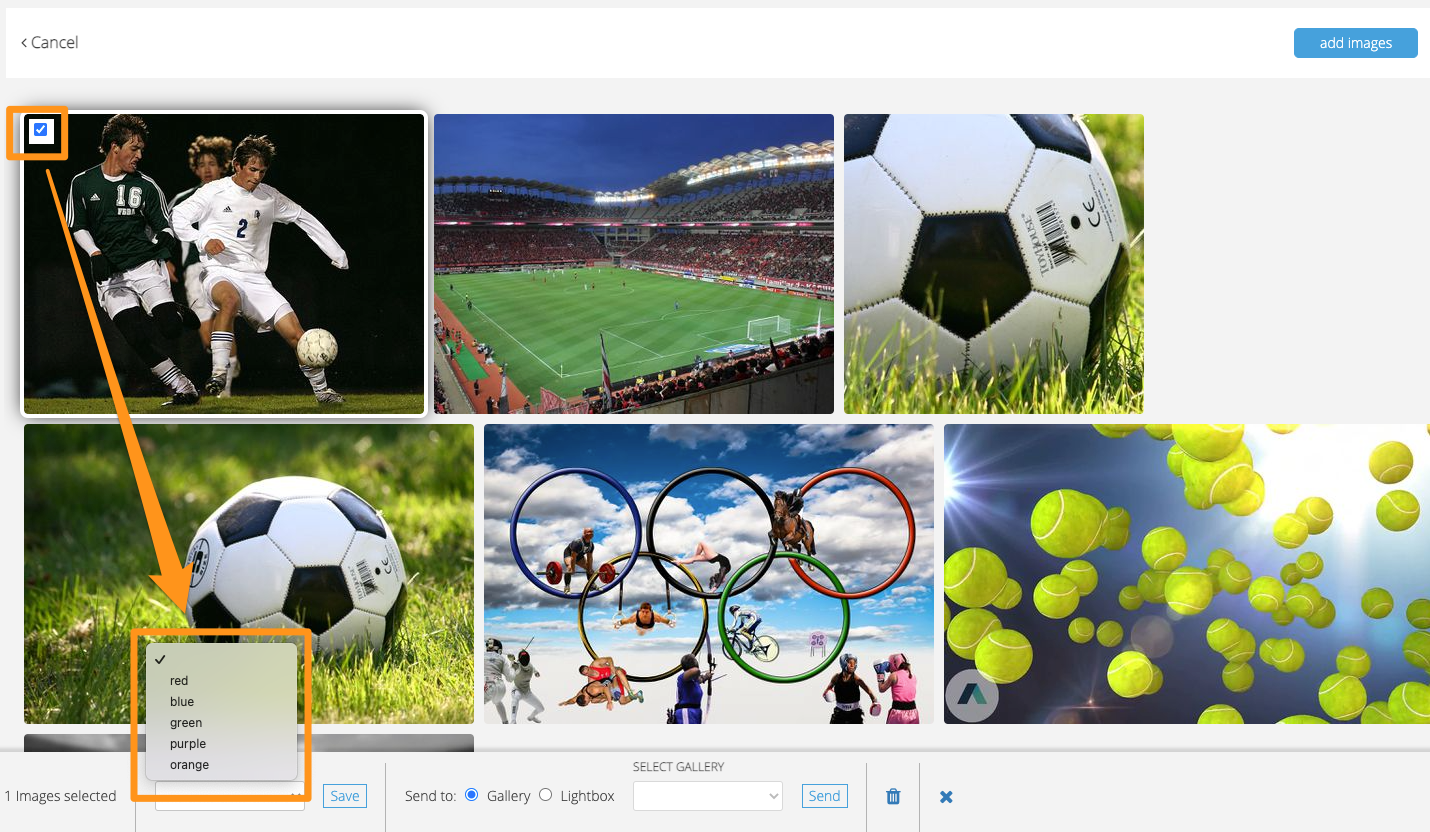
Once the images have been added to the lightbox, you can select them (single or multiple images) to bring up a secondary menu at the bottom of the page to add a color border to the image, send to a gallery or another lightbox, or remove them from the Lightbox. The colors are there to be able to distinguish between the images, for example you could use the colors to say “use the green one first” or “we are not using the red images right now”.
 |
Selecting images from a lightbox through Composer
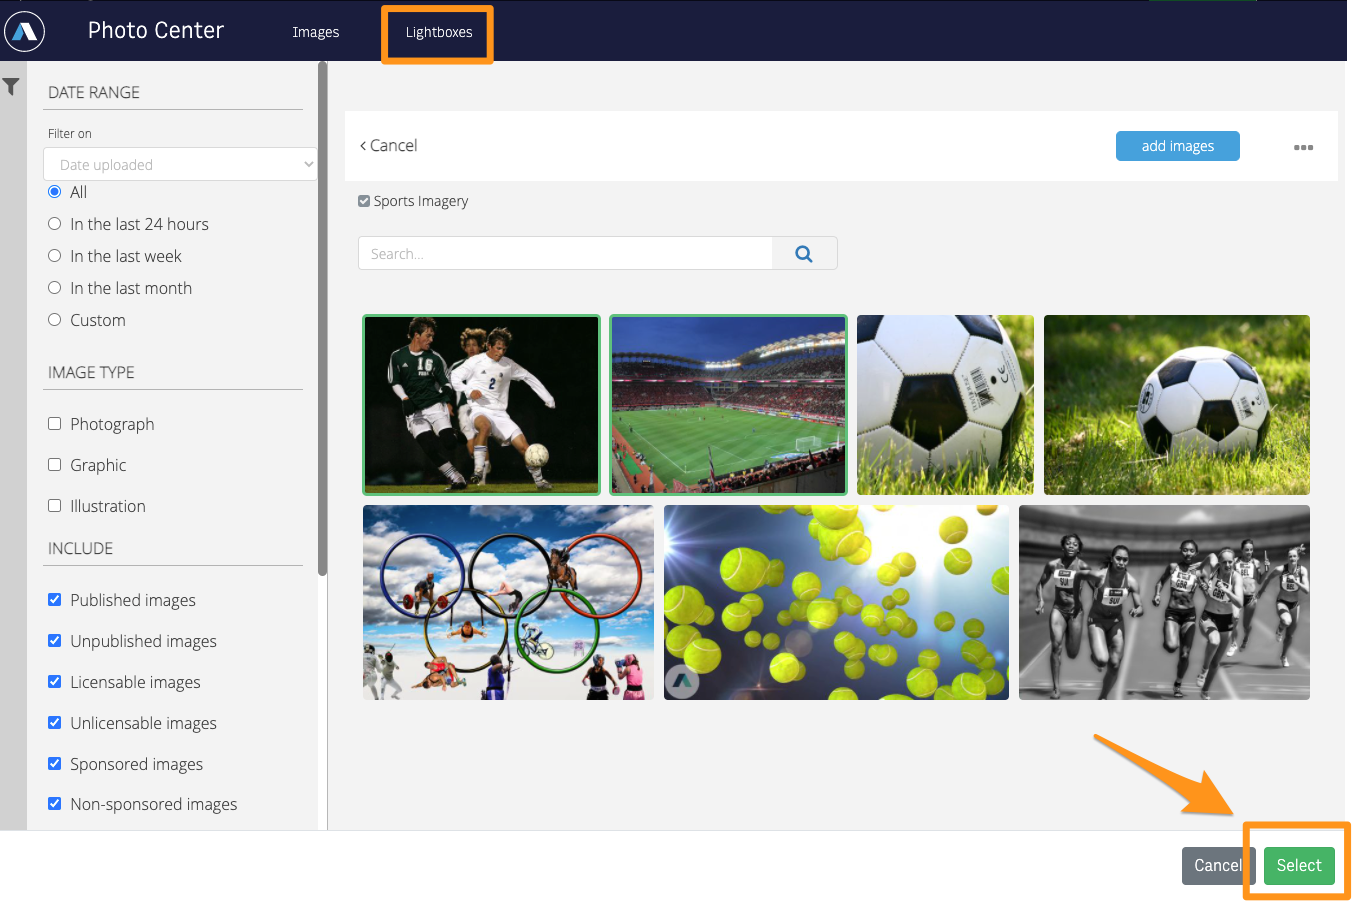
When adding a photo to a story in Composer, you can select the “lightboxes” in the top menu to access any lightboxes you have created in Photo Center. Inside the lightbox, you will be able to see the color you have marked your images with.
 |