Themes - Queryly Search With Themes
Queryly is the preferred site search solution for Arc XP. See Queryly search overview for more information. Queryly requires a small monthly fee that can be included in your monthly Arc XP subscription based on the amount of content you'd like to make searchable. To see what Queryly would look like on your site, contact Arc XP Customer Support.
If you are a Queryly customer, you can use Themes support for Queryly search.
Prerequisites
You are using the Themes default output type, and the Themes navigation chain*
A Queryly subscription
Queryly should be provisioned for your organization, and you should have the following from Queryly:
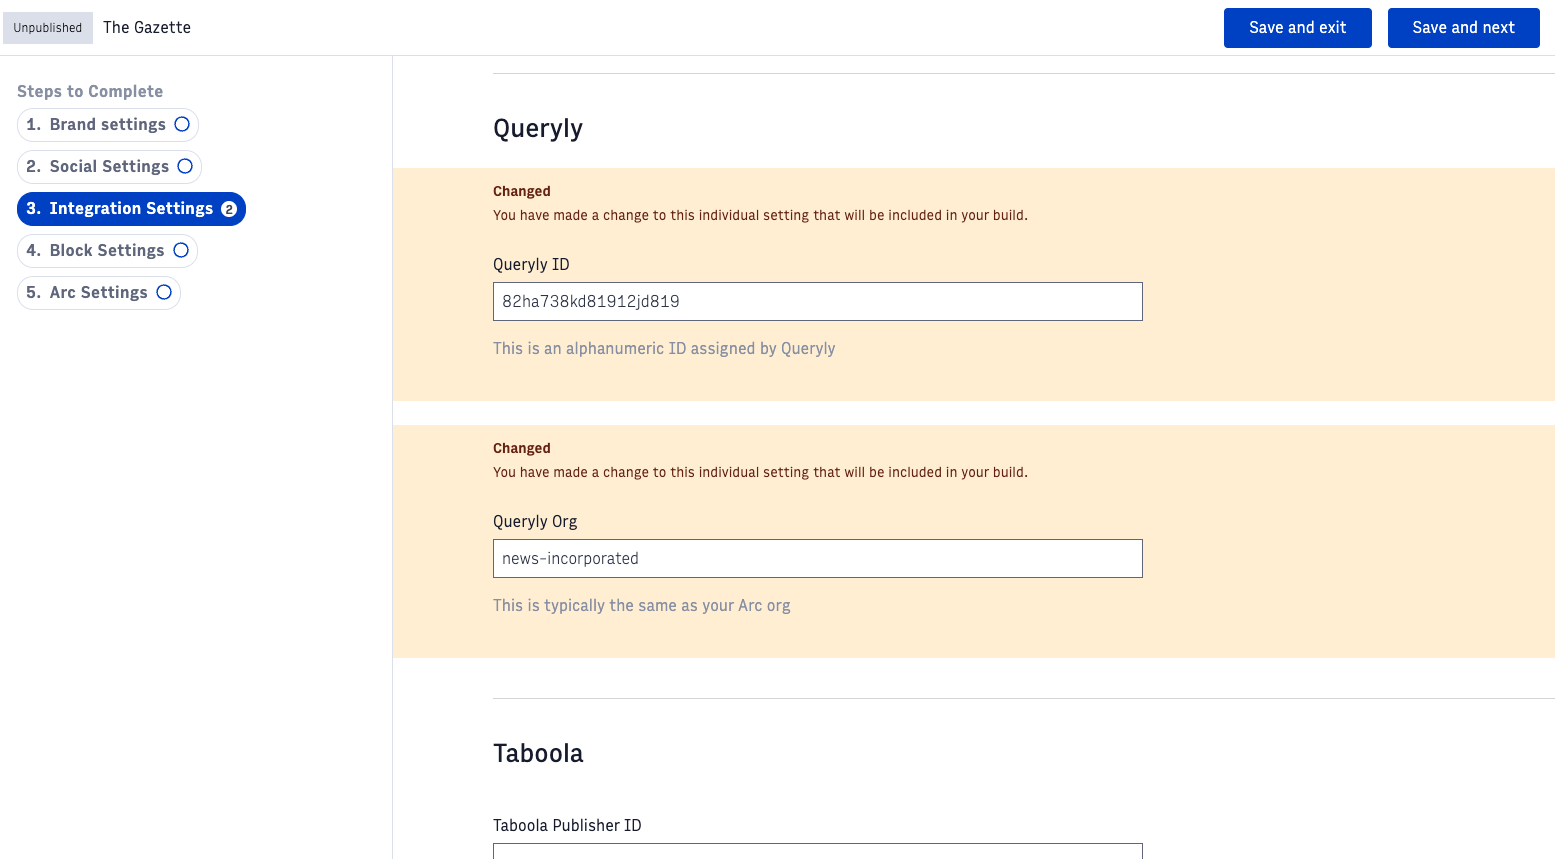
Queryly ID: This is an alphanumeric ID assigned by Queryly
Queryly Org: This is typically the same as your Arc org
*Note: If you are not using the Themes default output type and the Themes navigation chain, the documentation below doesn't necessarily apply, because Themes has implemented important business logic in these blocks. Instead, you may need to follow Queryly's documentation for implementing Instant Search and Advanced Search in your own custom blocks code.
Add Queryly search icon to your navigation
First, you need to make the Queryly search icon visible throughout your site's navigation. When readers click on this search icon, the Queryly Instant Search modal will display.
In the Theme Settings Application, configure Queryly ID and Queryly Org for any website(s) where you will use Queryly search. See Complete build.
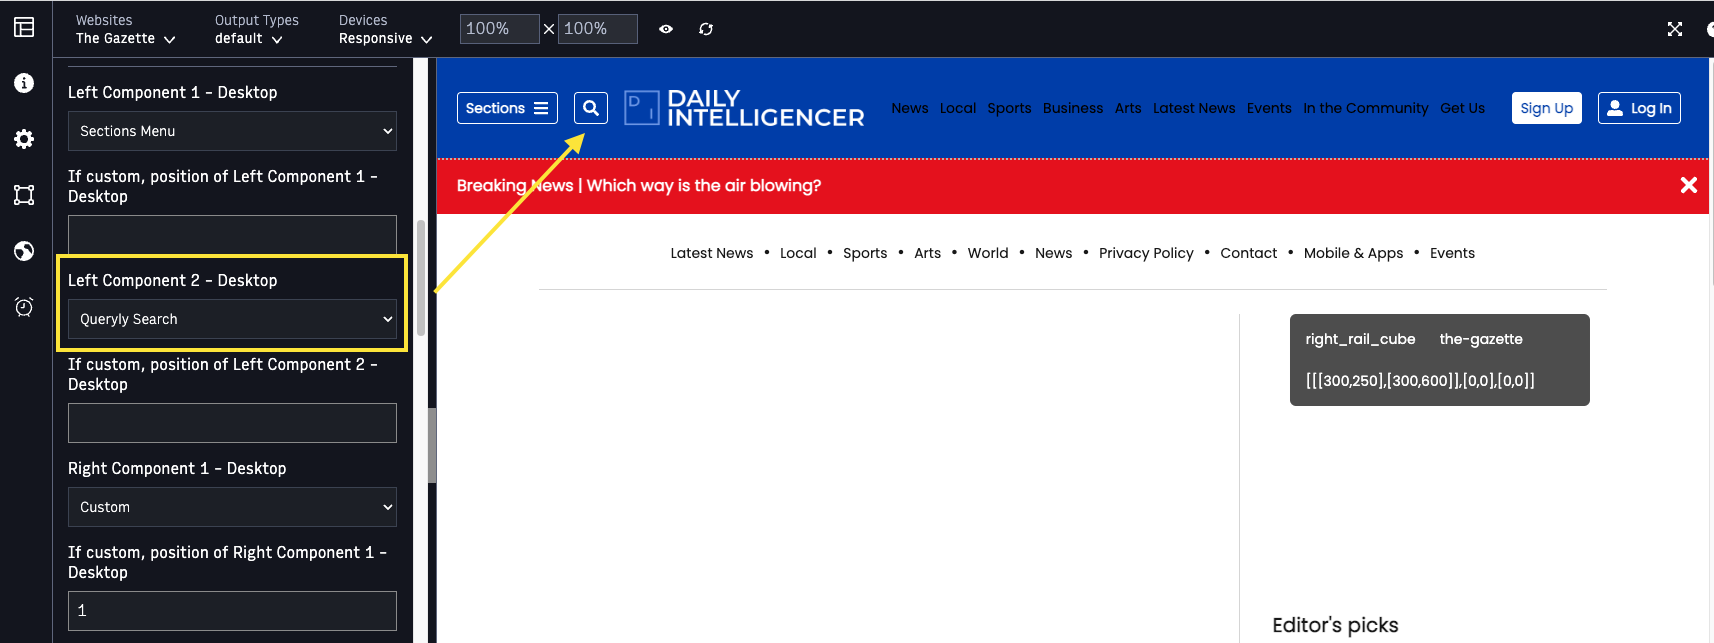
In the Navigation Chain, configure Queryly Search in the slots where you want the search icon to appear. (See Navigation - Arc Chain for more about configuring these slots.) Publish your changes.
Tip
Link all Navigation chains across all pages/templates back to your Fragments page so you only have to make this update in one place. (See Themes - Fragment Page + Linking Guidance for Themes for more information).
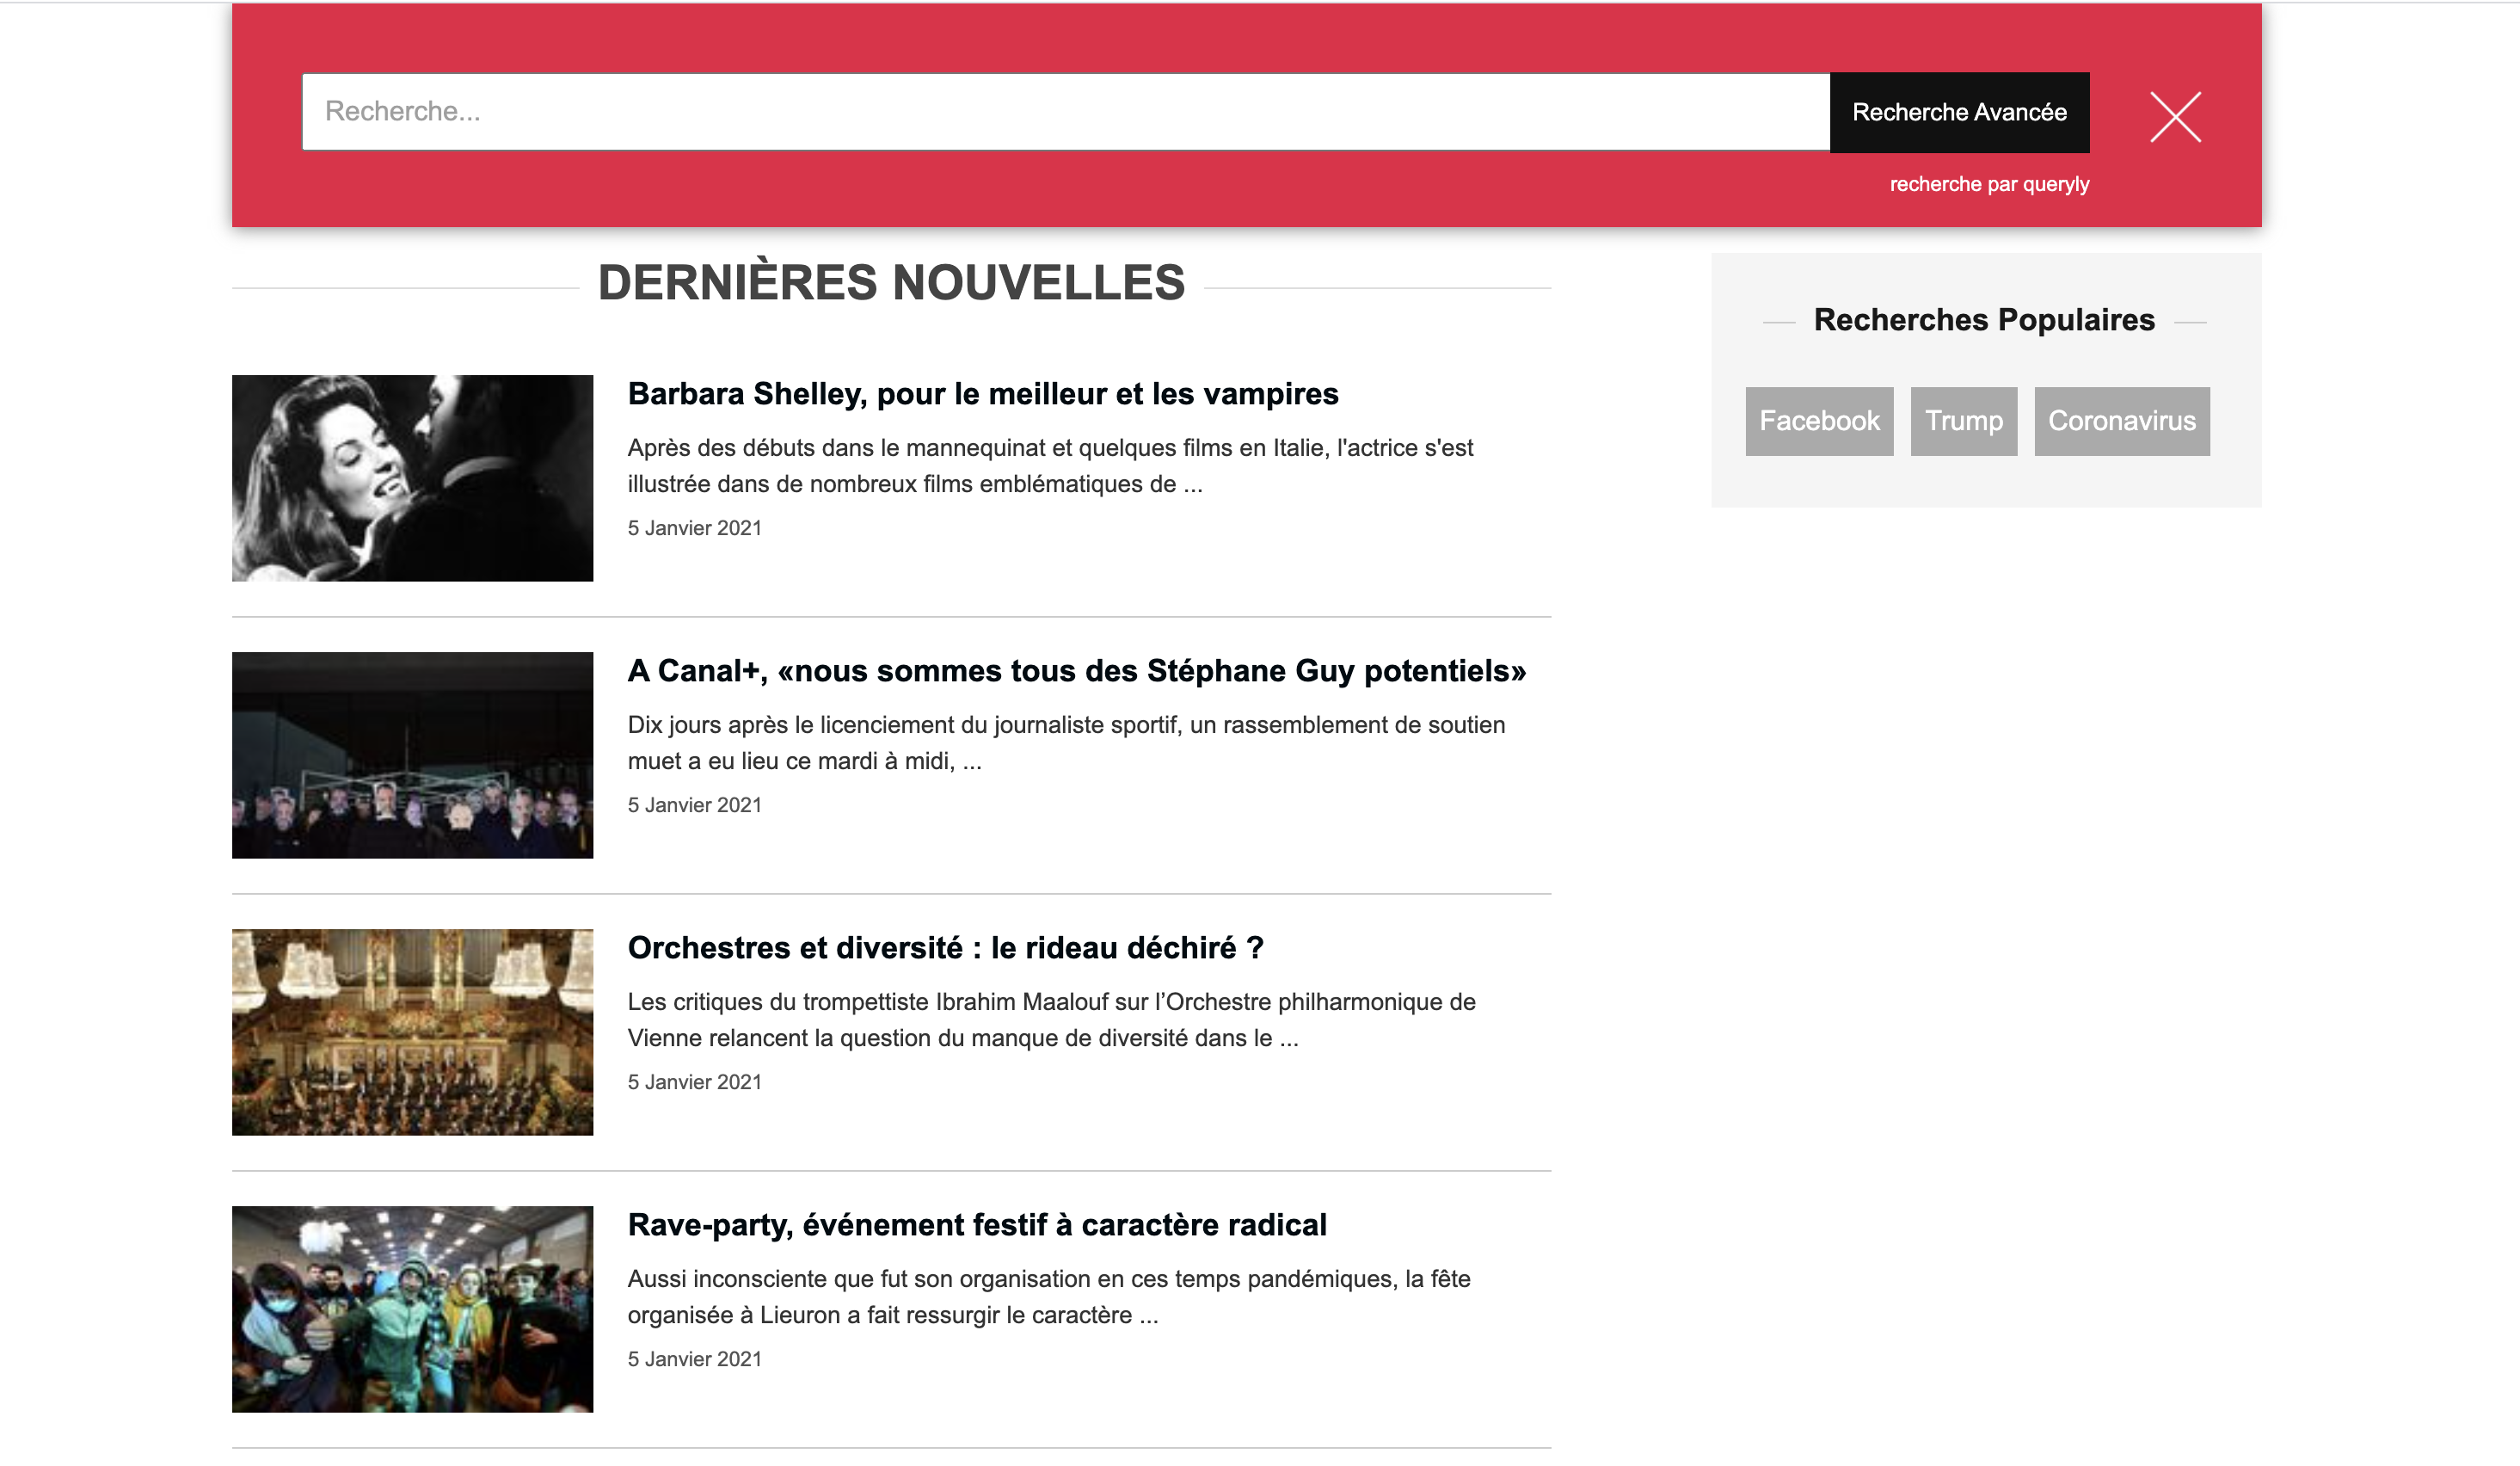
Now, if a reader presses the Queryly Search Icon in your navigation, they will see the Queryly Instant Search modal:
 |
Note
Accent colors seen in this screenshot are controlled by Queryly per customer.
Create a Queryly advanced search page
If readers want more control over their search, they can press the Advanced Search button that appears in the Instant Search modal. This takes them to an Advanced Search Page.
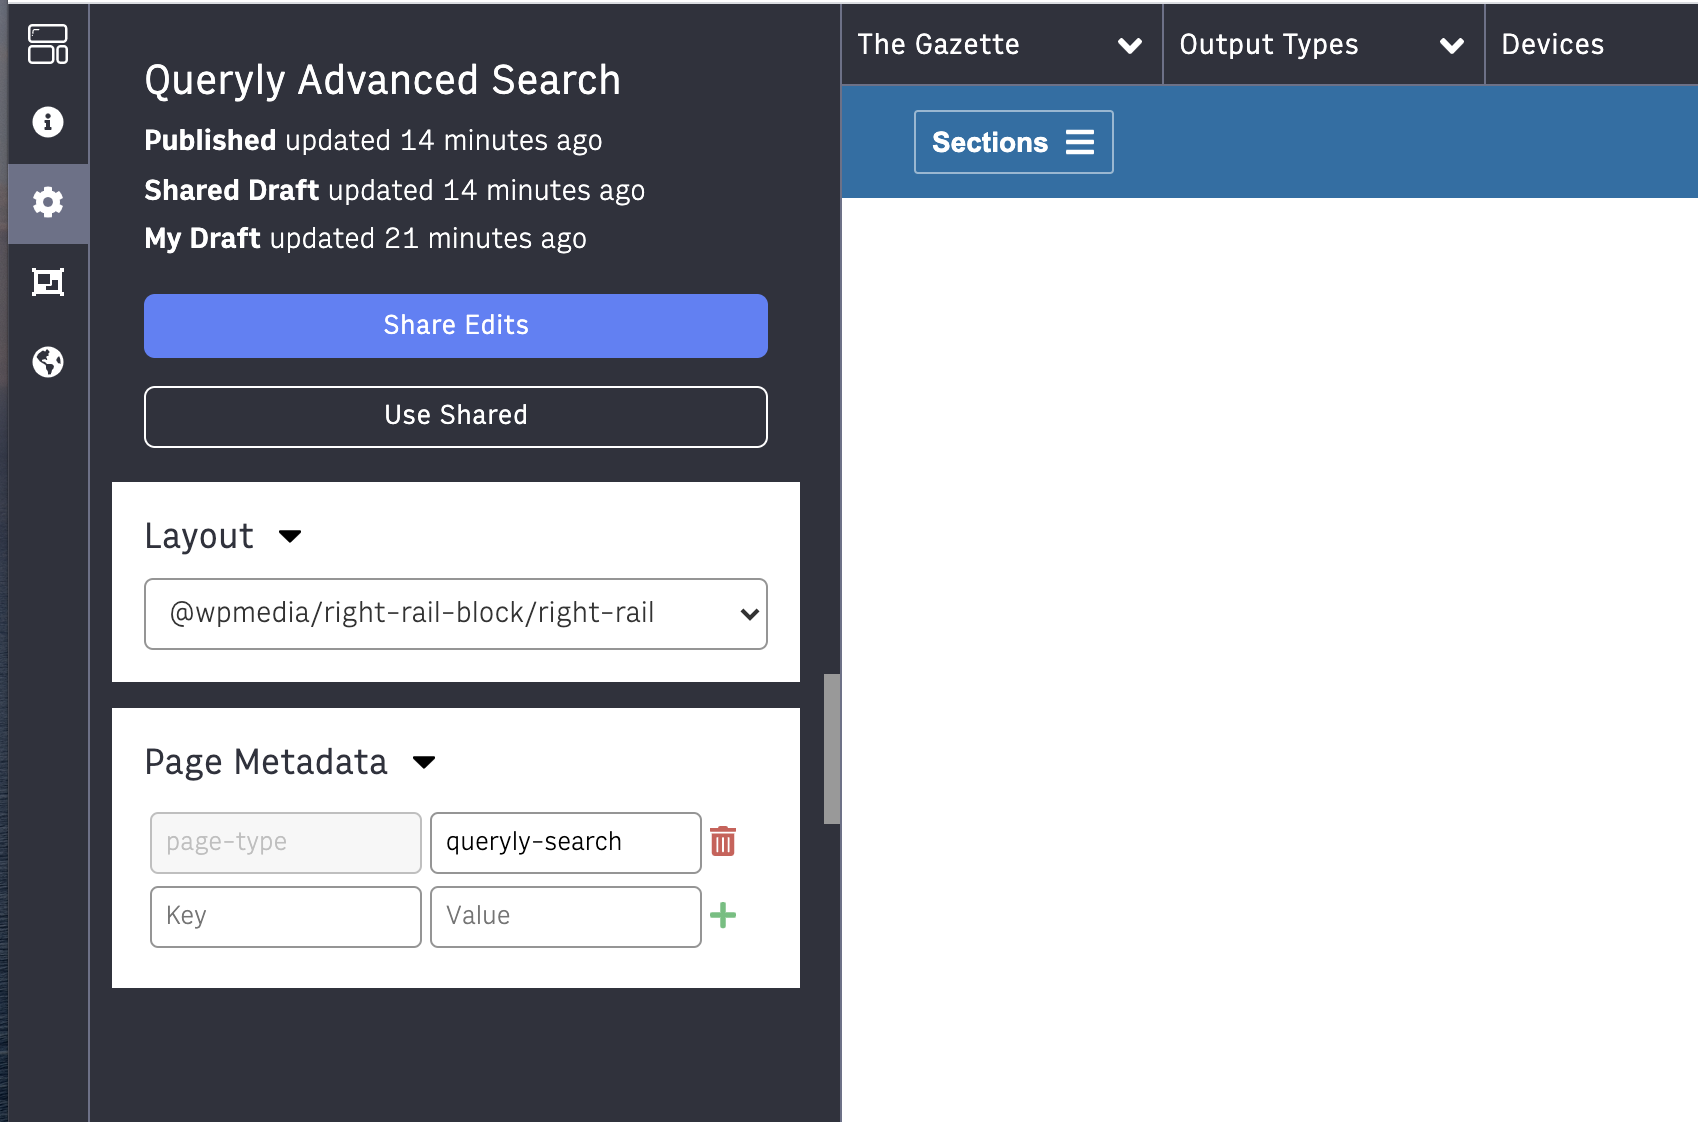
Create your Queryly Advanced Search page.
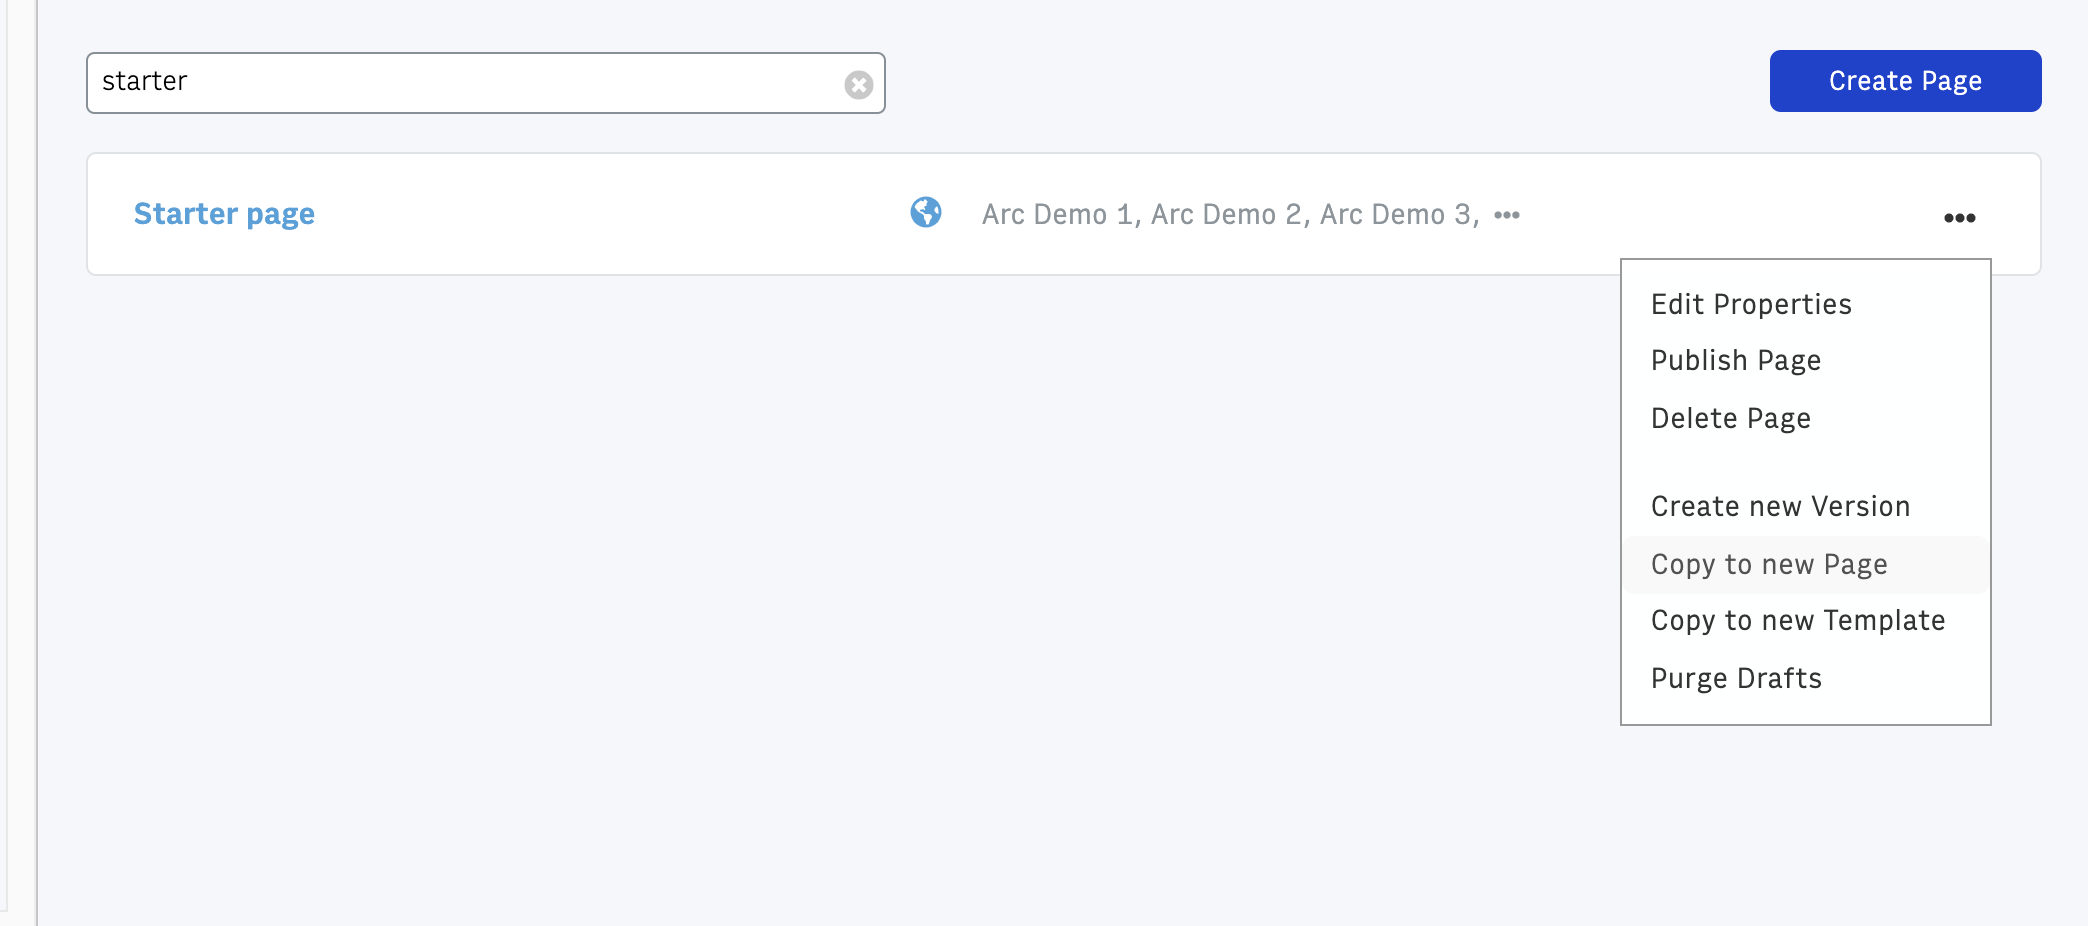
You should have received a Starter Page when your Themes environment was provisioned. This page contains the basic blocks you need for all pages—the Navigation Chain, Alert Bar Block, Footer Block, and any Right Rail content you wish to place on most pages on your site. If you don't have a Starter page, you can create one with these basic elements.
Copy from the Starter Page to create a new page:
You can give this page the following:
Page Name: Queryly Advanced Search
Page URI*: /queryly-advanced-search/
Note
You can change the Page URI, but the same corresponding change will need to be made by Queryly. For example, if you want users to be taken to a page with the path
/search/(rather than/queryly-advanced-search/), you can ask Queryly to make this change, and then also change the Page URI in PageBuilder to match it.Under Setup > Page Metadata, set the page-type to queryly-search - this is important so that the Themes default output type knows that this is a Queryly Advanced Search Page, and loads additional Queryly JavaScript that is only necessary on this page.
In the main section of the page layout, add an HTML Box Block with the following HTML:
<div class="width-wrap" style="background:white;padding:16px;">
    <div id="queryly_advanced_container">
        <div id="faceteddata"></div>
        <div id="resultdata"></div>
    </div>
</div>
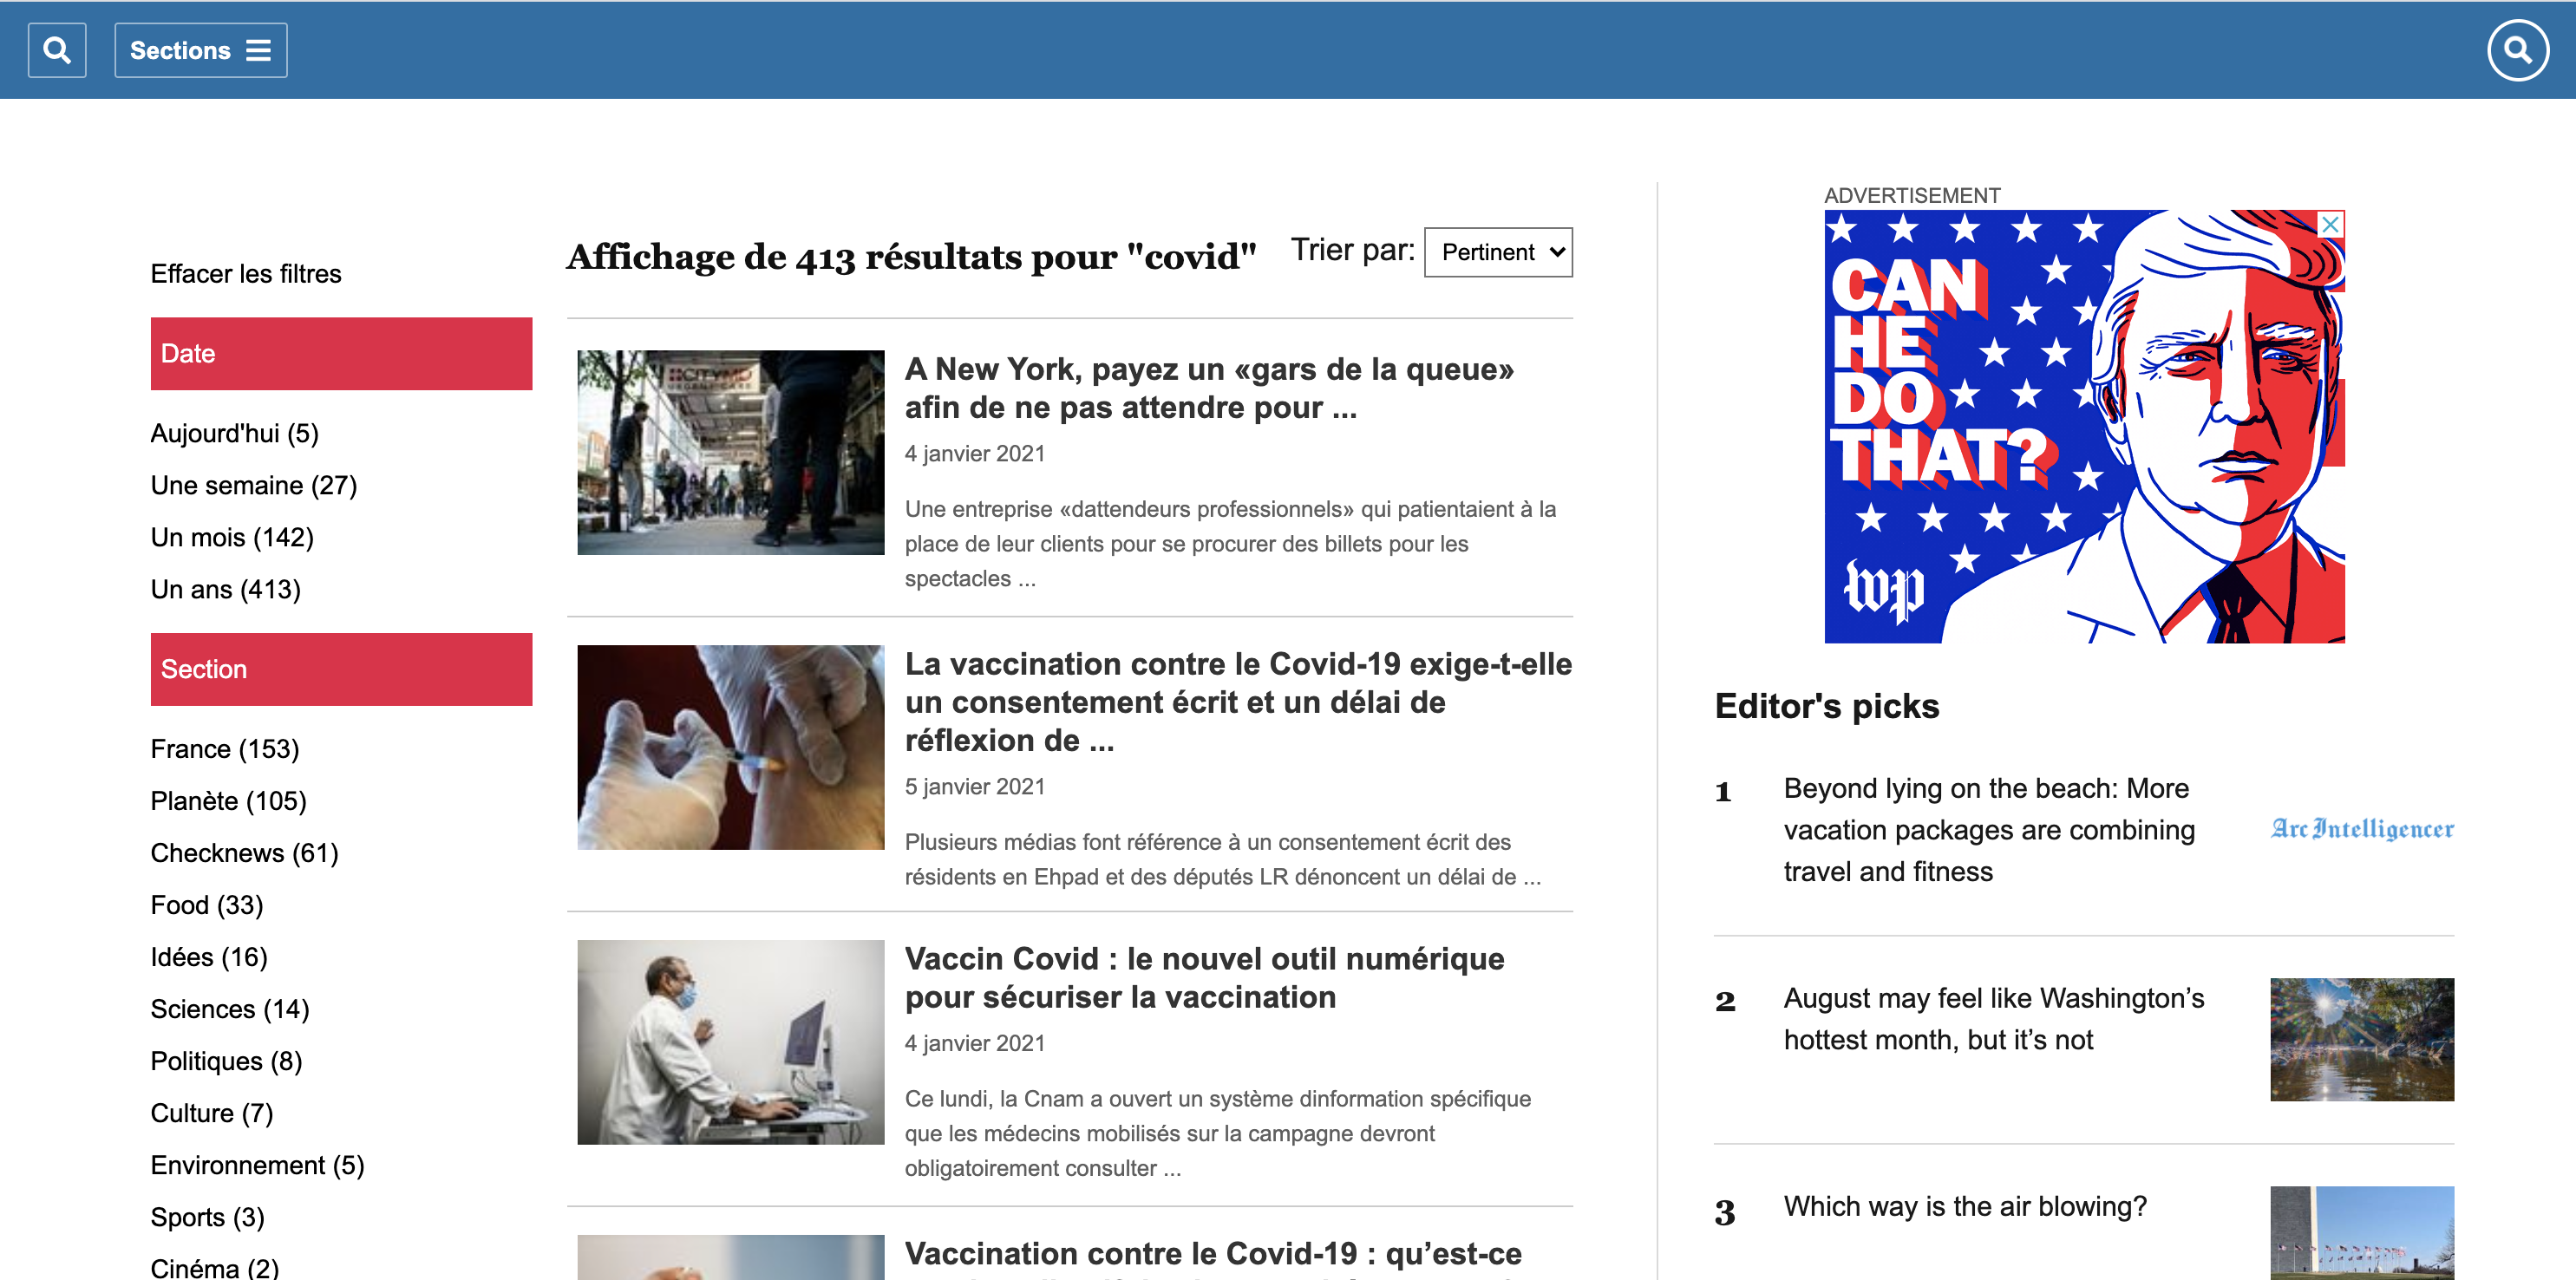
Publish this page. When readers press the Advanced Search button on the Instant Search modal, they will be brought to this URI, and Queryly will dynamically populate the page with search results from their query.
 |